Wednesday, July 10, 2013

Josiah and Sienna's Birthday!

I am way overdue on this, but May brought about the birthdays of Sienna and Josiah! We had a Brave sports party. I want to be able to do their birthday parties together as long as they will tolerate it so I try to have a girl and boy theme! Sienna reminds me a lot of Merida, although she wants to wear her gowns. Sienna is our warrior princess that likes to tackle the world in her tutu. We are so thankful for her. Josiah is growing into a little boy. He loves any kind of ball: football, basketball, soccer ball, baseball or whatever he else he can throw. We are enjoying having a little guy around and cant believe that the twos are upon us again.


I made Sienna's Merida dress off of this tutorial, http://www.sewcando.com/2012/10/inspired-by-brave-princess-merida.html

Here are some pictures of the party, enjoy!


Josiah picked out a big football for his birthday!


We were able to shoot bow and arrows at the party and it was really fun. Actually, all the dads really liked it :)


We are so thankful for the friends and family that we have and look forward to watching these to mature  and grow!


Tuesday, June 4, 2013

Some catching up

It is summer!! Here in the North State of California is is getting HOT! Like triple digits this week. Can I  tell you I am thankful for water? It is amazing. Nothing beats swimming on a hot day. There might be some of you wondering what happened to my absence on the blog. To be realistic there are probably more of you who had no idea :) I started teaching Spanish to the K/1 classes at my daughters school and that took up most of my discretionary time. Now that school is over I thought I would blog, whooo!

I have a dear friend here in Chico who is pregnant with her third child. We wanted to give her a shower but she has a boy and a girl and really, what else does she need? So we asked her. She said she would love to have a shower that could get some of her projects done before baby got here. Whooo! That is right up my alley. We threw her a "Nesting Shower" and put on the invitation to come in project clothes. It was a big hit! She was able to get all her projects done and it was a blast to do them with other women. Here are some pictures of the party...


We still had snacks of course and a place where we could hang some cards or money on a little tree.


Then the real fun began and we got to work. She had lots of spray painting projects, painting some of her bar stools and lining some of her kitchen cabinets with contact paper.


It was fun to be able to help her get all her projects done before baby and I know it feels good to not have those things hanging over your head when your nesting mode sets in! We are still waiting for baby's arrival and most of all I am so thankful for a community of friends that I can call family!


Tuesday, March 5, 2013

Pillow Revamp

It has taken me about a year to revamp my pillows. They needed some updating but I was having a hard time deciding what I wanted to do. I also have never done a zippered pillow cover and knew that I really wanted these to be washable. I was in luck when I found a great and easy tutorial which you can check out here. Honestly she makes it look like piece of cake! Which it is after the first one :) After I figured out what I was doing I set to make my pillows. I am so glad I did the zipper because with 3 small children we all know I will need to wash them!!! Whew, got them all done. Then I knew I wanted to add a bit more of a personal touch to the solid blue pillows. I went to work finishing them up.

Here are my pillows before I fancied them up.  


I love how the zipper on the pillows worked out. It was seriously easy! It is covered so nicely by the fabric so I just used whatever color zipper I had on hand.


Whooo! Next I was able to use my Silhouette to cut out vinyl to create a stencil for the pillows. I really love my Silhouette. Like a lot. 


I then got my fabric paint and trusty foam brush and painted inside the stencil. The vinyl works great on the fabric and creates a really  nice seal around the edges. Fabric paint is great. If you haven't used it start exploring! Martha Stewart has a great line of paints in awesome colors that have multiple applications.


Peel and dry and you have yourself a new pillow. Viola! 


I am enjoying my pillows as are my children! I think they like how they are personalized. My oldest tells everyone who comes to visit what they mean :)


Lastly, our tulip tree is in full bloom right now and it is truly beautiful. I love the colors in the tree and it is so refreshing to be reminded that spring is near! We love summer around here and spring means it is one step closer, whooo!

Sunday, February 17, 2013

Big 6th Birthday

Brooklynn turned 6 the beginning of this month. It is awesome and challenging at the same time to see her grow up so fast and develop into a little girl. She has such a tender heart. Every night she prays that no one would get in the "uh-oh" pocket in school. She hates seeing others get in trouble. She is also such a willing helper. I know she will love, protect and do whatever needs to be done for her siblings. She loves drawing and anything artistic. She is already able to converse with others from all different ages and has confidence in the things she does. We are so thankful to be her parents and pray that she would continue to grow into a young woman who is able to impact the world.

For her 6th birthday I asked her what kind of party she wanted and she told me a "BEE" party. Her teacher's name is Mrs. B and the theme in her class is "Bees" so I was not too surprised when that is what she wanted. I went to work to find some fun things to do and she had some ideas of her own for the party. We had a great day and are so thankful for all the people who pour into our children's lives.


I downloaded this print from the blog eighteen25 and really have enjoyed having it to change out for birthdays!


This is a terrible picture, but my mother in law was able to find these cute bee cutouts at the dollar tree. We strung them around the house and made a banner with some of them.


I then made my version of bees out of Oreo  They were pretty simple to make  but cute for the party. I also had honey stix and honey graham crackers.


I also made a beehive pinata for the kids. The pinata ended up being too durable, but it was cute for the party and the kids loved it when I flung out the candy from the pinata. 


This is the little B on her party day. She also thought up a game that we played but I did not get any pictures of. She took a box and we drew a hive on it and then made some bean bags and the kids had to throw the bean bags into the box. We also made antenna headbands and beeswax candles. I think it was a fun day and I hope that Brooklynn felt loved and blessed!


One last picture of this cute little bee that was at the party!

Wednesday, February 6, 2013

Bathroom Art

It is still birthday central around here. My husband and daughter have their birthday's one week apart. I am always trying to have time to get all the celebrations in the midst of normal life. So, I have finally gotten around to finishing these pieces for the bathroom. I went back and forth between making something simple or just buying pictures. I finally decided to make some simple cut out pictures, and if I hate them later they can always be changed. I started with 4 frames from Ikea. 


I then cut some bathroom shapes from my silhouette. I chose a bathtub, toilet, towel and sink and mirror. I then cut blue card stock to fit the frame. I used spray adhesive to adhere some of the pictures to the card stock, but it was proving to be messy so for the last two I used a glue stick. I think these could also be made with stencils or cutting out shapes by hand. (Side note: I liked how they turned out but my husband questioned what the toilet was as well as the sink and mirror. Make sure your images are distinguishable! Ha!)


Here are what they are like glued on.


I then laid out the frames as I wanted them on the wall on the ground. I took wax paper and traced their outlines and the position for nail holes on the paper. I then hung the paper up on the wall where I wanted the frames and then put the nails in the wall.


Works like a charm. I was glad to finally get these up and enjoy having something on the wall.


Have a great week!

Monday, January 21, 2013

Bathroom Remodel

The past two weeks have been busy!! While my husband went on a trip to Nepal, my mom came up and supported me while we had the bathroom overhauled. We planned it this way and it was as if the bathroom was calling out to be remodeled. It had so many problems including tile falling off the shower walls, a leaky toilet, cabinet drawers falling off, linoleum coming up, lights not working and a leaky sink. It was BAD! I really just wanted a bathroom that functioned but knew that we needed to get rid of everything. This post will be picture happy but I think you will see what a change it really is!


This was the before. Nothing too pretty.


We temporarily duct taped the missing tiles and tried to keep the rest in place.


And the missing bottom cabinet that fell apart a couple weeks before the change, and then the cabinet drawers fell off too, lovely.


Notice the massive cabinet and only one light working. Yep, it was gross.


Then demo started. 

Before the ceiling was this funky stuff on the left. I had no idea what it was but wanted it down. When we took it down there was awesome tongue and groove wood as the ceiling  Score!!! I decided to keep it, paint it and put molding around the top.


We put in a tube skylight which has been awesome. Those things bring in so much light and I am very happy we chose to put it in!


This is it! Yea!!! We put in the wood ceramic tile and I absolutely love how it looks! We also had granite panels put around the tub surround and on the vanity. I am not a fan of grout and wanted something easy to clean. I am a big fan of solid surface. It looks amazing and I am excited about the longevity and ease of cleaning! Yahoo!!!!
If anyone in Chico needs granite done Mirror Image granite did ours and did a great job. They worked so hard to get in done in the time frame I had and I am soooooo thankful!!!


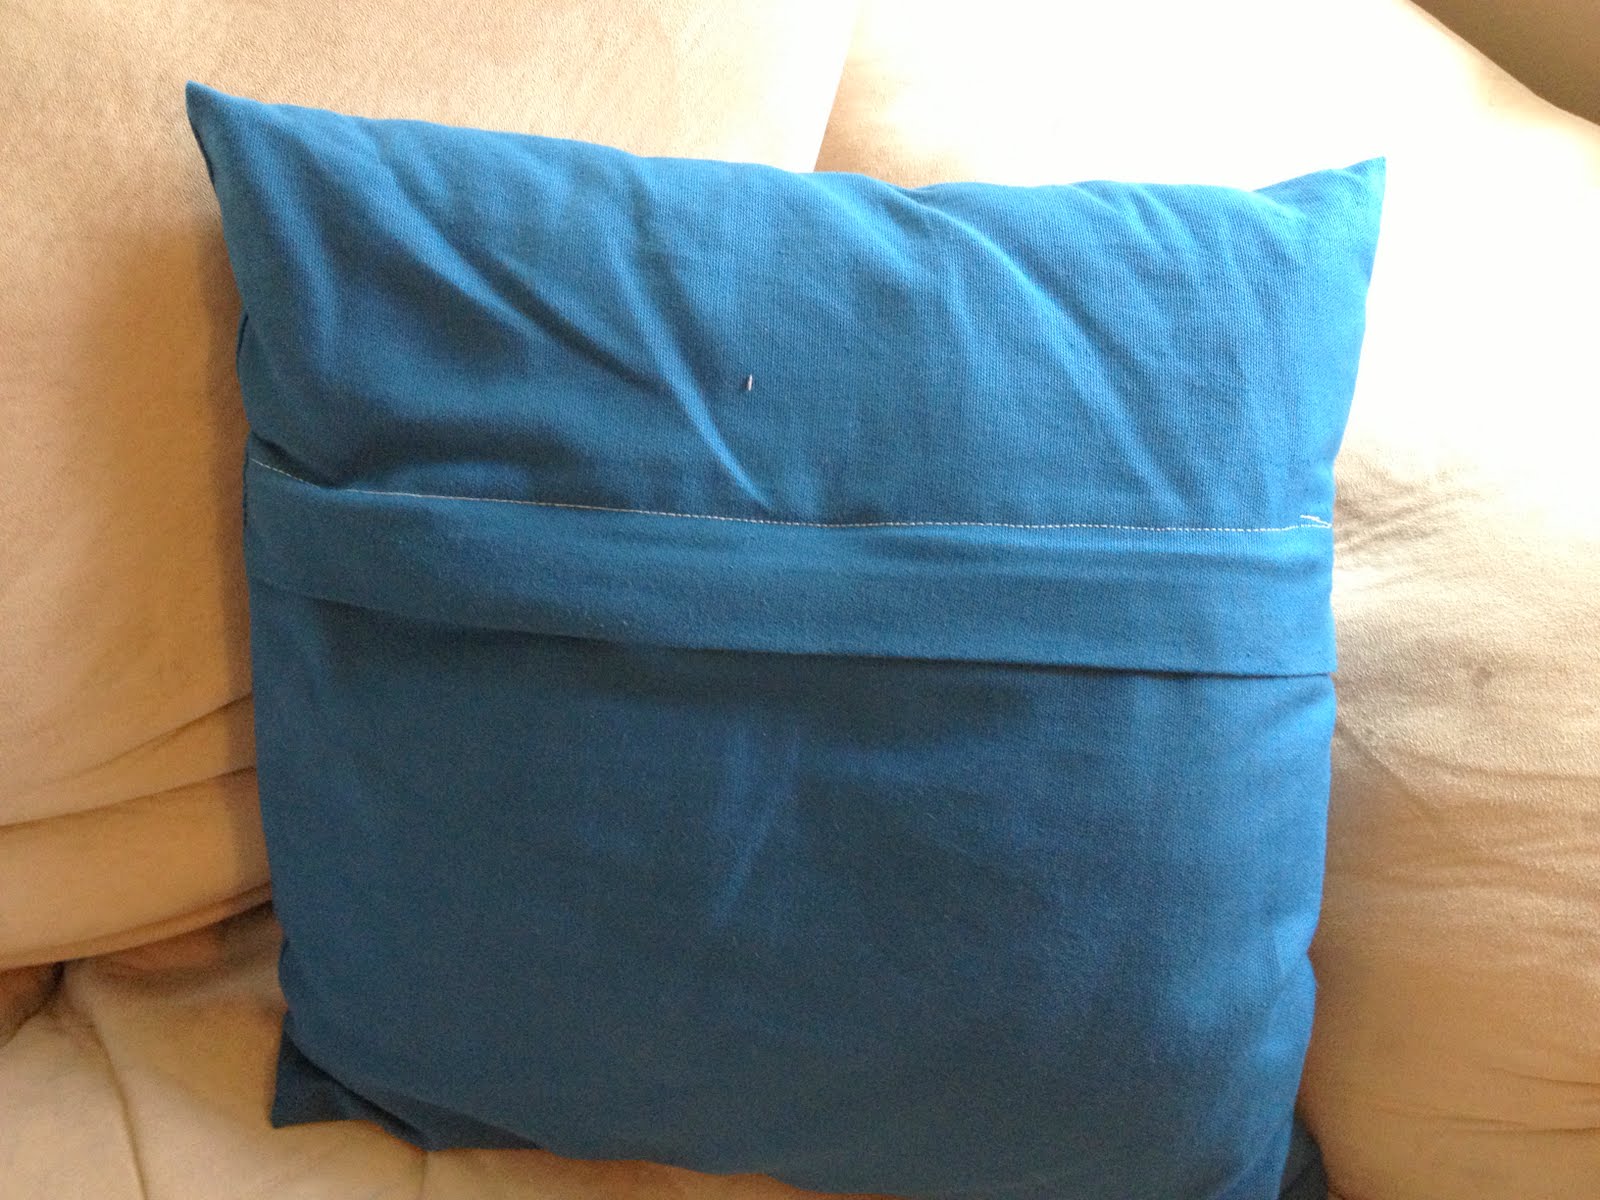
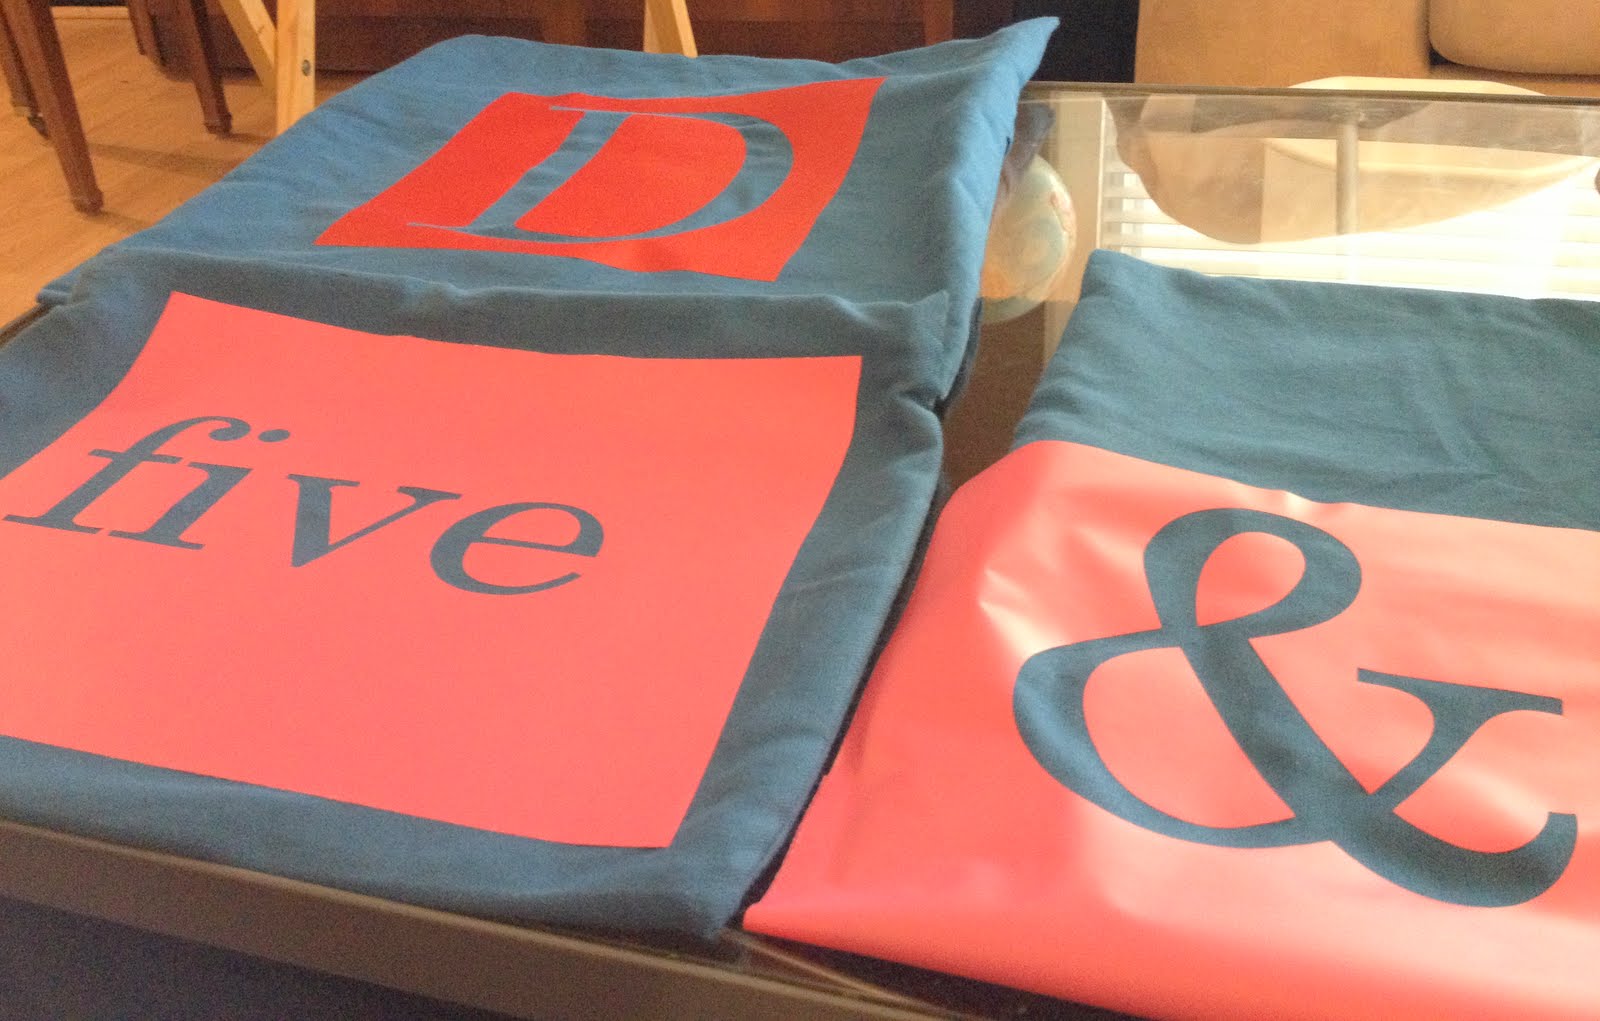
I had some cute number hangers so I added them with some buckets, I am all about storage.


I also had a fairly large in the wall cabinet put in behind the door for more storage. I used a towel rack instead of a bar for functionality. I am adding artwork above the hooks which I will share with you next week!


I love these ceramic floors. It is tile, can you believe it?!?! It really looks like wood but has the durability of tile. 


One more look...


What a change, huh? More than anything I am thankful for a functioning bathroom and one that should last. Artwork will be on the blog next week!

Thursday, January 3, 2013

A little pattern review

Welcome to the New Year! I was not able to enjoy New Year's Eve as I had imagined. Instead of watching a movie and sitting next to my hubby welcoming in the New Year with joy I was hunched over a porcelain toilet. Not only was I sick, but earlier that night at the movie store my son had thrown up all over me, and the floor, and his clothes, lovely. I was hoping he would not share his bugs, but later that night the bug struck. So far 2013 can only go up! We are on the mend, but it is not a fun way to ring in the New Year!

Today I want to show you a pattern that I have used and some helpful hints I learned along the way. I always say when I make something with a pattern I want to make two. It seems that the first project is figuring out how things work and the second one usually turns out as it should.

I found this pattern at a local fabric shop and wanted to make this dress for my kiddos.


I took my girls to the fabric store to pick out the fabric for the dress. What they picked was NOT what I would pick, but I knew they would wear it if they liked the fabric. We compromised :) 

I really liked this pattern as it was really easy to understand. One of the best parts about the pattern is the range of sizes that this pattern covers, 2T-10!!! That is a huge range for a  pattern and I was very excited about that. If anyone has experience with patterns this is an easy one to work with. The only thing that was a bit tricky for me were the button holes. I think that might be my problem, but it does require button holes if anyone else has the same problem :). I also would recommend adding the pull over tags on the skirt after it has been attached to the bodice. The bodice is really easy to attach to the skirt and ended up being really cute. Here is the one that I made for my middle daughter. She was not exactly super excited to model her new dress. This is her best attempt. 


So, I waited til the next day and she was willing to give me this picture. 


Here is the dress by itself. I really like this dress pattern! I would have definitely picked different fabric, but as it is she loves it! 


Patterns can be intimidating but understanding them can really open things up to different projects. 

We are starting a huge project here next week so will be excited to show it to you soon!