I had made a door hanger for our house a while ago and thought it would be fun to make as a gift. I thought I would show all the steps I used to create the edging that I like on my blocks and how I made the hanger.
First, I cut 2 lengths of 1 x 4 wood. I cut a 14" and 12" piece.
Then, I laid them out on newspaper and sprayed them with an off white spray paint.
Here is the spray paint that I used...
Here are my pieces painted and drying.

This is what my pieces look like after they are sanded. I like to round out all the edges, but the most important thing to do is to make sure you expose the wood around the edges in order for the next step to work.
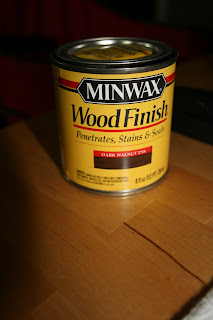
I then take a dark walnut stain, like this one...
Take some of the stain and rub it around the edges of the blocks (where the exposed wood is) with a rag and let sit for a bit. Wipe off the excess stain and it should look like this.
I am making a couple of these, so only 2 are used per door hanger. Like the pacifier in the picture?
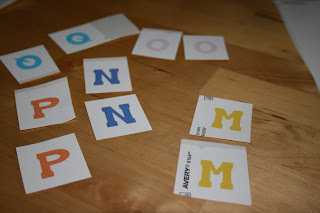
I then took my Silhouette and printed their names and the Welcome sign. I placed the letters on the blocks and centered them.
I then took these screw eyes and measured on the tops of the blocks to screw them in. I placed the top 2 screws 2" in from each side and the bottom ones 4" in from each side. Before I screwed them in, I pre-drilled my holes with my cordless drill. I think these are super handy to have inside the house by the way :).
I then screwed in the eyes and tied them together with some ribbon and viola, I am done! I made some rosettes with fabric that I hot glued together and put on the sign which I will cover in another post.
Thanks for reading!


