Tuesday, August 30, 2011

My little desk

I love being organized. I realized I am just wired that way. I was the kid that organized their desk at school for fun. In elementary school I remember being appalled at kids who just stuffed their papers in their desk, really? That sense of organization has not gone away. When we gave our office room to have it be Josiah's room I lost my desk. My husband's got moved into our room, but I thought I could do without one. I was wrong. I seriously missed having a place to organize all the bills, family things, schedules, etc. and a small place for my laptop. I secretly eyed a spot in my house, just a nook really, and set to making it my area. I found a great small desk at Staples for $30, yea!! It was on clearance, but had character and was small enough to fit my space (and budget!) I took it home, opened it up and it was BROKEN!!! NOOOOO! I had already rearraged my room to make space for it and this desk was the last one. On clearance, no more, can't call other stores. So sad.

I turned to the blog world for a solution. After looking around I decided to make my desk. It was seriously easy and I could make it fit my space. Also the price tag was about $30 as well, much better than the prices I found online. Oh yea, did I mention it was the week of my brother's wedding? Yes, I am crazy!

First, I went to Lowe's and bought a 24" x 24" piece of precut sanded pine. I then went home and took some 2x4 scraps and cut them to create a 22" x 22" box.

I glued the sides together and bound it with a band clamp. My little helper loves being outside with me. While this was drying I spray painted the legs I had bought at Lowe's.


I painted them white and these were super easy to attach to the table. There is hardware that screws right onto the table and then the leg screws into the hardware. It is super easy. I then stained the 24 x 24 piece and glued it to the box. I attached to hardware to the underside of the top and then screwed in the legs. Viola, a desk. I love it and am ready to accessorize!


I made a shelf above the desk and love it. I found the hanger's at Lowe's and stained a 1x6 for the top.

Here's my little corner of the world!!! For now!


Sunday, August 21, 2011

Some Wedding pics...ok, just the Rehearsal dinner

This past week went by quite quickly. My husband went backpacking with a group from church so my sister and cousin were graciously able to stay with me and my kiddos (so I would not go crazy!) They were a huge help and a blessing. I love my kiddos, but boy are they a lot of work! I have been wanting to post more on the blog, but truth be told, I had misplaced (ie lost) our nice SLR camera. I was soooooo bummed. I tried to retrace my steps, but did not know where it went. On the day of the wedding I only had 2 flower girls, a 3 month old, a husband who was a groomsman, 2 flower girl baskets, petals, 1 large diaper bag and a camera. How could I have misplaced it! I had pictures from the rehearsal dinner on it, but did not have any from the wedding since I lost the camera by then.

I was ecstatic when I got a text from my new in-law family that they had found my camera, yipee! I quickly went over to get my camera and be reunited. I promptly downloaded all the pictures so I could post here and was afraid of losing the pictures again! Lesson learned, keep track of the camera! Anyway, here are some of the things I made for the dinner my parents hosted. My brother and sister-in-law wanted to include out of town family, so it was catered at the church.

I had this idea for a while and was so glad I finally got to implement it! (This was actually at my house)

The theme of the wedding was vintage travel and it was beautiful, so I made this sign with welcome in different significant languages for my brother and sister-in-law. (Don't look too closely, things get crooked when doing them at midnight with a 3 month old!!!)

Speaking of a 3 month old, here he is with my grandma. Quite a nice welcome if you ask me!

This table was on the way in to the dining area with a photo hanger that I did with pictures of them. I distressed an old frame I got for $.50, added some fabric and ribbon and hung pictures with clothes pins.


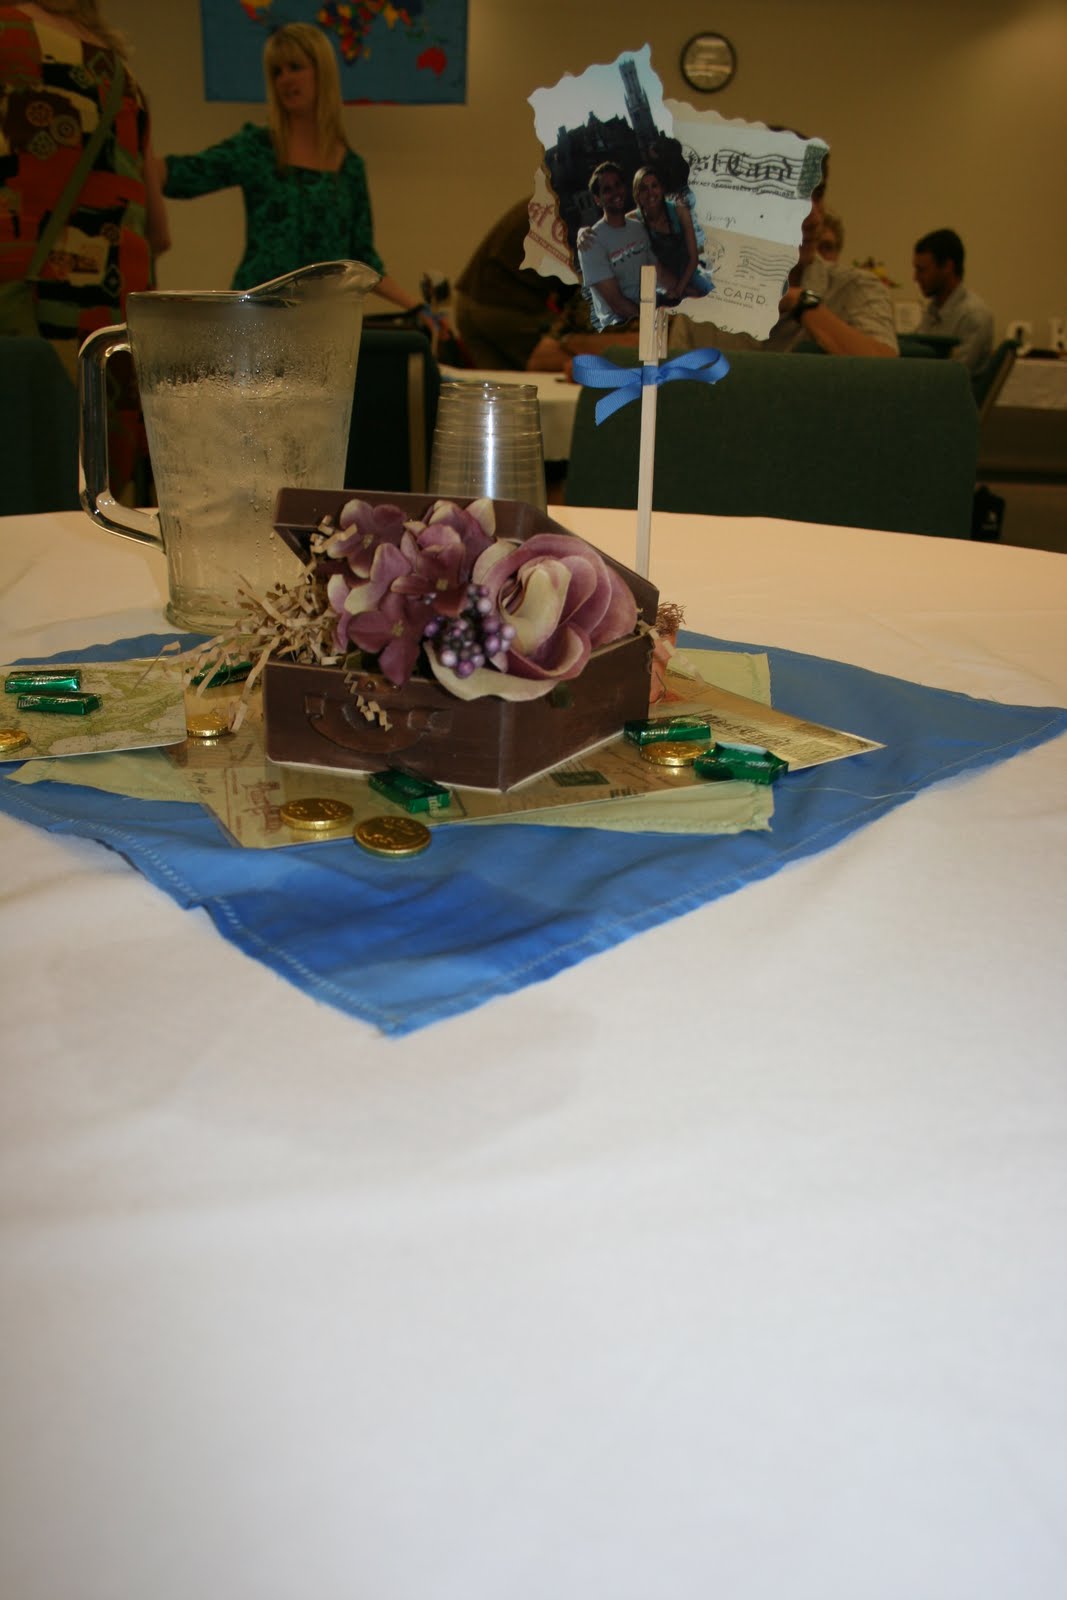
My mom did all the centerpieces with boxes that she painted and distressed. She had cute little pots that held a stick to hold pictures of my bro and sister-in-law. She did a great job and I was so glad that she was able to do all she was right in the middle of chemo! Go mom!


We had some great Mexican food (our favorite in Chico), and I think all of us were thankful for all the help and love that was felt at the dinner and wedding.

One last picture of my brother and my oldest daughter. So excited for you two as you start this journey! Can't wait to see the pictures from the wedding (I'm sure the photographers didn't lose their cameras!)


Tuesday, August 9, 2011

Princess Dresses

I am enjoying the week here in Chico. My brother got married this past weekend and we had a great time celebrating the wedding. Pictures to follow, but I thought I would share an older project while I sift through some other projects to share!

While at the Disney store my older daughter saw these princess dresses.


Now, I like princess dresses, but these ones were out of my price range so I told my daughter that I would make her one, here en lies the challenge!

I first went to the fabric store and just bought plain cotton fabrics and began cutting. Looking back I should have bought a little fancier fabric since the Cinderella dress looked more like Belle's peasant dress than a ball gown :(

Unfortunately, I did not document the creation of these dresses as well as I would have liked since it was so long ago. I will say that having used a pattern previously helped me construct the dresses. I started with the skirt and made it with an elastic waist and then made the bodices the way a typical pattern would construct a top. I then sewed them together and had the whole dress. Since I had started with a plain fabric, and later realized it was too plain, I went back and added a shiny top layer fabric seen here...

This is the finished product with my ever so willing model!


I thought it turned out pretty cute and she loves it. I was hard pressed to get her sister to take a decent picture in her dress, so here it is on the couch, sad.


Looking forward to sharing some of the wedding projects with you!


Friday, August 5, 2011

Subway Art!!!!!

I cannot tell you how excited I am to have this project done!!! A friend of mine had asked me to do this and I thought it was the perfect opportunity for me to learn how to do it well! I love subway art, maybe it is my love for language or maybe the 4 years of my life that I spent reading and studying English at my Alma mater, Cal Poly San Luis Obispo. Anyway, I have been wanting to figure out how to do it well for quite some time. I found a tutorial located here, on I am momma hear me roar. I love the way that mine turned out, but I did not use the same program to make the art. Let me begin by showing you my mistake. I tried first by making stencils to put on the board. I thought it would be easier, but turned out TERRIBLE!!!!

After I scraped this idea I went hunting on the web. When I found the tutorial on I am momma hear me roar I knew that it would be the perfect solution. I had been having trouble transferring the correct proportions to the board. So instead of using picnik to create the art, I used Powerpoint. I liked using it because I could specify on page layout the exact size I wanted printed, in my case it was a 18x24. I then clicked on View and then on grid lines which was great to be able to align my words the way I wanted them. I added all my text and adjusted the sizes using click and drag and font size. Once I got it the way I wanted, I printed it to a PDF. I then sent it to Staples as an engineering blueprint and loved the way it turned out. The letters were crisp and the black was very dark on the page. I then followed the directions on I am momma hear me roar to finish it up and this is how it turned out!

And another from the side...

I did distress the sides and the front of the paper. A word of caution, if you don't want to smudge the letters, make sure the glue that you spray does not get on your hands, as mine did! It still turned out well, but I like to distress purposefully not because of my mistakes, ha!

Hope all is well and you may be seeing more subway art on here!