Tuesday, February 28, 2012

New Projects...

I like to do a myriad of things. Looking back, I have always been dabbling in a bunch of different hobbies! In high school I played basketball, crocheted, always had a novel I was reading, played guitar, led a bible study, ran early in the morning and of course went to school. At different points in the year my life was more focused on one area than the rest. I just like dabbling in different things. I have been trying to determine what I really enjoy working with in the craft world. I wanted to focus my Etsy store on things I really enjoy and what would be most fun for me to work with. After lots of consideration and thought I decided I love working with wood and fabric. More than anything though, I love making things personal!! I decided that I want to focus on things that can be personalized. So, I am introducing my first wood and fabric products that can be personalized. Here are the first two for you to see.


 I love these miniature pendants that can go anywhere in the home. The pendant is wood and the letters are painted. They are 3.5 inches tall and 1/4 in thick. I love that these are small enough to make a statement without being overwhelming.


I also love this longer one. I think the wonderful thing about these is that they can be as long or short as you want. They can be personalized to be a name, a special memory or place. What about one that says "thanks" to use in a picture. I might just make one for my kiddos to hold for some picture thank-yous!

I am hoping to come up with more designs to put in the store, but I had to show these!

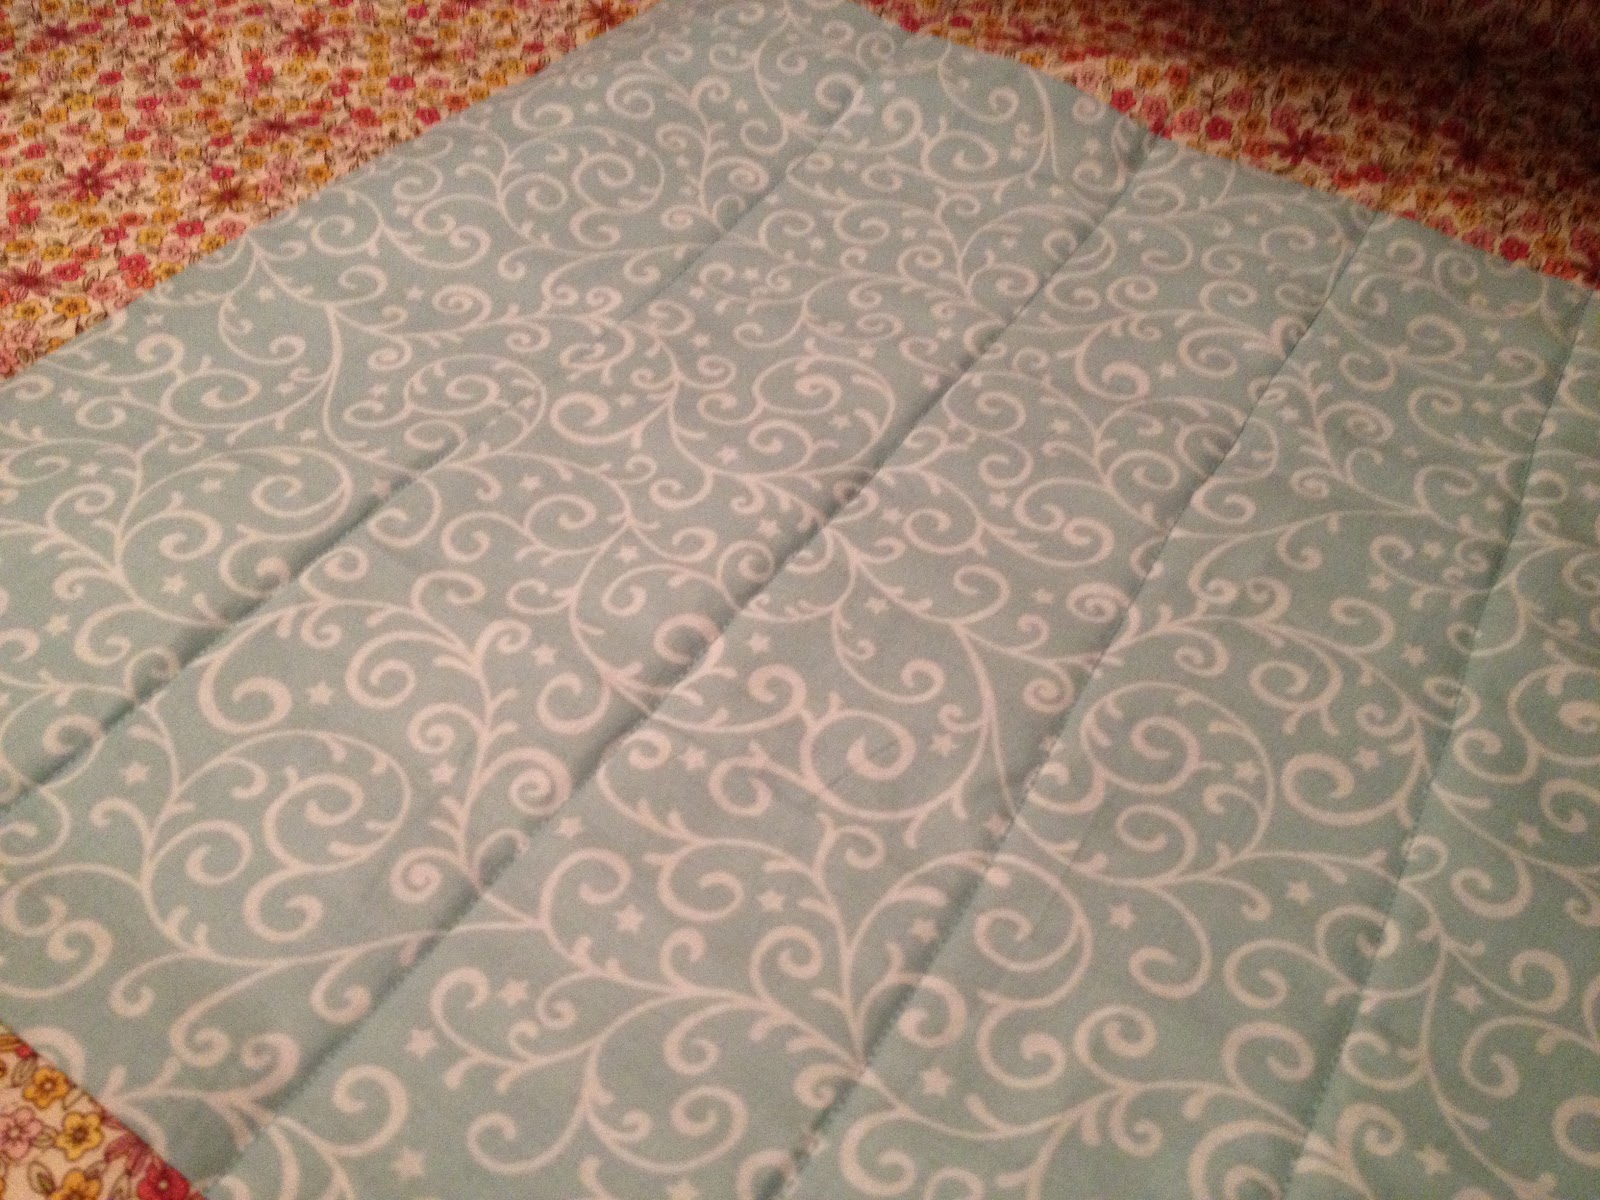
I also found this awesome tutorial on a baby blanket that I had to share. It is a triple stitched blanket by No Big Dill. You can find the tutorial here. She did some fun blankets with a simple edging to give it a quilted look and I loved it. This is the one I made. Looking  back I used a much bigger edging for the blanket and I used a satin edging. It is great to the touch, but not as easy to work with. I had a hard time getting the corners to look right, but I suggest using lots and lots of pins!

 I did a little embroidery to add a personal touch to the blanket.

 I stitched around the edging 3 times and followed the directions from No Big Dill. Worked like a charm.

Love this blanket, I kinda want to make one for myself :) Thanks for looking and let me know what you think!


Wednesday, February 22, 2012

Ironing Board, well kinda

I recently went to a garage sale in the area. I had heard there was a lot of vintage fabric for sale and thought I could get some for my stash. As I went, it was a bit overwhelming. There were boxes and boxes of fabric. The lady's grandmother had died and they were trying to clear out her stash. I got a great deal on lots of fabric. As I was leaving she told me I could come back as she would have more fabric next week. I asked her how much she had left and she said 50 boxes. I thought I heard her wrong, she must have said 15. I asked again, how many boxes? Again she answered 50.  I left feeling a bit overwhelmed thinking about how much fabric one woman had saved. It also gave me some perspective. As I am a thoroughly grateful recipient of this lady's fabric hoarding, I do not wish to put that on my kids as they one day may have to clean out my junk! So, I am working on whittling down my fabric supply (although the garage sale didn't help!) and have lots of projects I'm working on.  I thought today I would show you a very practical one that is helping me sew. When I sew I always need an iron. I have an ironing board (one of those squeaky ones that creak obnoxiously when you open it) that is in my cleaning closet. It is loud and takes up lots of room. One day while mindlessly scrolling through Pinterest I saw a pin for an ironing pad that goes on top of a washer or dryer, BINGO! My problems are solved. I didn't want to buy it so thought I would try to make one.

I first bought some heat resistant batting. It is the kind that is used in oven mitts. If I did this again I would have used 2 layers, but I used one and it seems to be working well. I then cut out a piece of fabric the length of my washing machine. I decided to use 2 fabrics on my top so my top was pieced together like this...


I have about 2 inches overlap on each side for seams. I then took the batting and did straight stitches through it to secure them to each other and make it look like it was quilted.


I then went to work on the side portions. I cut 2 pieces of fabric about 24 inches long and the length of the washer wide. I folded them in half and on the inside stitched pockets where I put a heavy duty magnet.


I put 2 magnets in each side pouch. I then folded them in half and sewed the sides shut.

I then flipped them right side out. Now I took the quilted piece and put the side pieces inside the quilted piece and the backing all right sides together. Make sure the raw side is on the outside of the square.
This is the most confusing part for me. When you look inside you should see backing, side pouch with magnets, then quilted portion. Then sew around the outside of the square and leave a small portion open. Flip it inside out then sew the open part shut. You should have a usable ironing pad now! Yea!


This is what mine looks like and truth be told, it is much easier to keep out to be able to iron when I want to!


Iron on!


Thursday, February 16, 2012

Valentine's Day

I'll be honest. Valentine's Day is not big at our house. Don't get me wrong, I love pink, red, hearts and of course love. I am just not the gushy romantic type. I usually like to take my kids (and myself) out for a special treat and make them wear red. I say all this because I was so excited when one of my close friends said her mom was in town and wanted to have a Valentine's day party. My friend and her mom are super creative with a fun style so I knew they would have some fun things at the party! We are thankful that they are always willing to lovingly open their home. They did a great job setting up the party so I had to share it here. Sorry about writing about so many parties lately, but it's that time of the year in our house! Thanks Adrienne and Joanie for a very fun party!


On Valentine's Day my girls got their choice of hot chocolate or vanilla milk, with all the goodies on top of course!! The local coffee shop we went to even let them pick their sprinkles. Colorful hearts for my older daughter and colorful dinosaurs for my younger daughter!

Ok, first of all how cute is this. We were able to take pictures with this and doesn't this little guy look handsome :)!


 There were lots of yummy desserts. Chocolate dipped marshmallow pops, sugar cookies, licorice, cupcakes! The kids were ready to dive in the minute we got there. 

There were fun heart shaped peanut butter and jelly, straws with hearts on them, strawberries cut into heart shapes and red baby bel cheeses. One of my favorites is the gigantic metal heart in the back, fun huh?


I thought this chalkboard was super cute. I know that the picture is a bit reflective, but it is the verse John 3:16 with Valentine written through it.

I love this cute mantel with hearts hanging with bakers twine. She also made the garland of hearts out of magazine paper. Too cute!


Whew! I get tired just from showing you all the fun stuff. Thanks so much Adrienne for a fun time!

Happy Valentine's Day!!

Monday, February 6, 2012

Brooklynn is 5 and a Rainbow party it was!

My oldest turned 5 last week. It is a bit of a milestone for me. Really, 5? Sniffle, sniffle. I felt like all mothers were telling me was to cherish the time when she was little, it goes by so fast (anyone else heard that?!) The reality though is that they are right, and now I find myself saying that. Brooklynn came into the world early on February 3, 2007 and was a little thing at 5lbs 3oz. I was having complications so I was induced 3 weeks early and had a very smooth and quick delivery. It was a fairly crazy time in my life as we were planning on moving the day she was born. We had just sold our house, found a rental and my husband had just changed jobs. It truly was a crazy time, but I know that God had his hand in that season of life. She was such a good baby and we truly are so thankful to have her apart of our lives. Here is a picture of her a couple days old.

Awww, I know so little. She has grown up into a fun, creative, talkative and kind little girl. Happy Birthday my sweet girl!


After much discussion we decided to have a rainbow party. I had seen a cake on Pinterest that I wanted to try out! The party was fun despite the fact that she had a double ear infection :( I was able to find a great printable package on Etsy that gave me some fun things to work with. You can check it out here. We played games, ate food and had fun. What more could we ask for! Here are some pictures from the party! 

I have to admit I loved the way the cake turned out. I was a bit leery when all the layers came out, but when I put it together it worked. I love it when thing work right the first time. I did buy a bag of skittles and had Brooklynn separate them all for me by color. She loves doing things like that and it worked out for me! I was then able to use them as decoration on the cake and table.


I also made a garland of circles in rainbow colors. I used a circle punch to make all the circles and then sewed them together. It was super easy but turned out cute. 


I also used a bunch of fruit loops to hold my pinwheels. I again had my daughter separate them and then I used some of the printables to put around the jars.

I liked how these turned out for a low cost. I think all the colors were so fun and the kids loved it.  One of the games that we played was hiding strips of colors and letting the kids find them. We sang a rainbow song and the kids had to hold up their color when we sang it. I also read the story of the flood from The Jesus Storybook Bible. I love this bible and the way that is is able to bring all of the stories back to Jesus. The rainbow is such a powerful reminder of God's covenant to us.

I know the 5 is the beginning of a new era: Bring it on school!

Wednesday, February 1, 2012

When you just don't know what to get...


My husband turned 30 this past week (and yes I am already 30!) I really wanted to be able to celebrate my husband and all that he has accomplished, but I think men's gifts are the toughest!  Usually the gifts men want either cost hundreds of dollars (tools, electronics, car gear, TV's, etc.) or if they really want it and it is affordable they go out and buy it. Sigh. So since I want to do something special for my husband so I ended up compiling a little book of words, notes or blessings from friends and family. Some of you may be on top of things, but usually I function in last minute. So I was proud of myself when I was able to get an email out early, yea! I wrote a short e-mail asking for letters e-mailed back so that I could compile them in a book. I wanted them in digital format so all I had to do was cut and paste. 

I thought this would be a great gift as all of us need some encouragement at times! I wanted this to be a tangible way that he could be reminded of how many people love him. Wanting people to have some time to write back, I had this printed and bound locally. Many online or photo book sites would be a great resource to use to make one of these as well. I downloaded a photo book template in PowerPoint and added all my text and photos to that document. 


 I decided to print on paper and have it spiral bound. I put a clear vinyl over the front page and then black on the back. 


I included some pictures but it mostly consisted of letters. It was pretty easy to put together and cost about $10. I know that our words can be a great gift!! 
 
Do not let any unwholesome talk come out of your mouths, but only what is helpful for building others up according to their needs, that it may benefit those who listen ~ Ephesians 4:29