
I can’t believe it is almost February. These months fly by for
us as we have 2 birthdays within a week of each other, whew! Here in Northern
California we have finally had rain to hopefully keep all the farmers, cities
and ski resorts happy (at least for a while!) I am just thankful to be getting
back into the swing of things. I am super excited about the new year and am
reading some great books (oldies but goodies) on child rearing. I am definitely
going to highlight them in a post, so if you are interested, keep posted!
In craft world, I have made a couple of these aprons for gifts
and thought I would share this with you. Usually I can make these in about 1
hour so it is a quick and easy gift! Many times I will add some felt food to
keep in the kitchen theme :) and add a bit more to the gift.

Below is a picture of all the fabric I cut to make this apron.
In order to get the correct measurements for the length and width of the panel
I used my 2 year old as an example. I would recommend trying to measure the
person that you are making this for and measure their length from hip to above
the knee. My measurements ended up being 9” from hip to knee. The width of the
panel needs to be a bit bigger since it is ruffled at the top. Take a hip to
hip measurement and double it for the width of the panel. Add 1” to each number
for seam allowances.
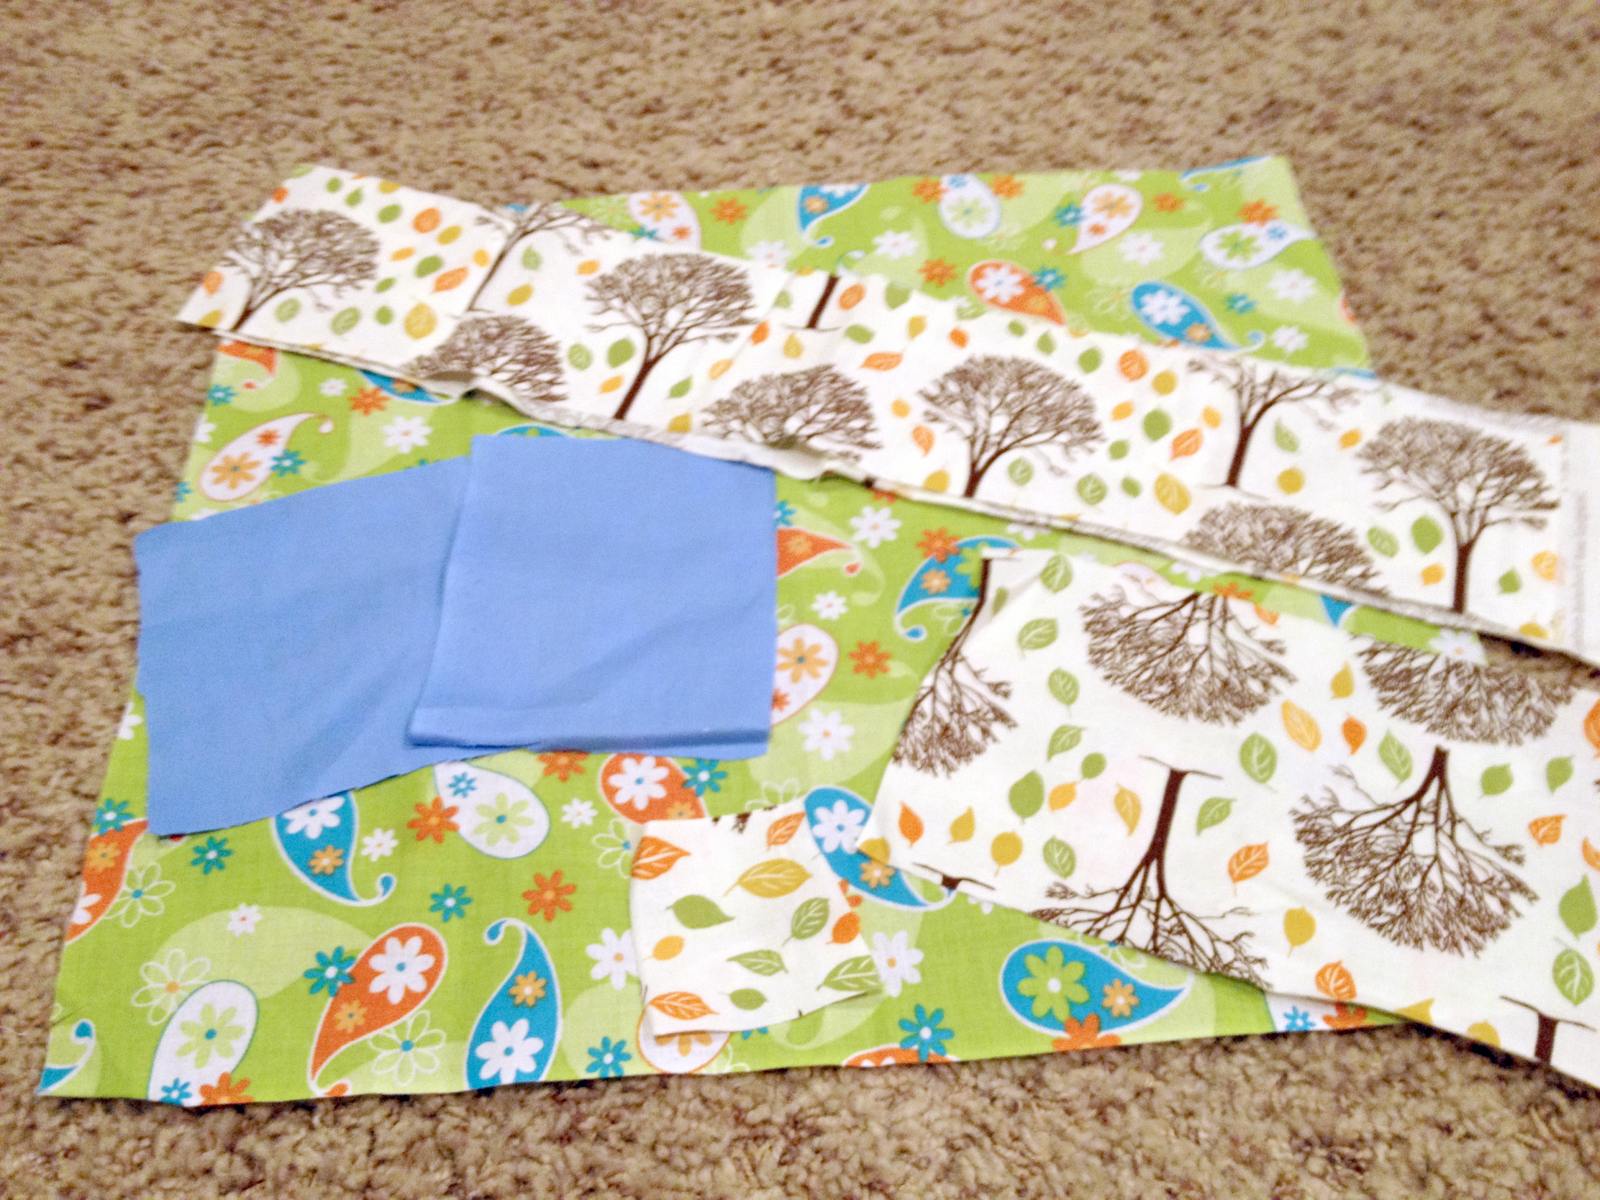
After you cut the panel the first step is to cut out pockets. I
just eyeballed the size that looked good on the panel I had cut and made 2
identical ones. Then I ironed the sides of the pockets and sewed them onto the
panel.

I ironed down all the sides and then topstitched one edge that
will become the top of the pocket.

After I sewed those on I finished 3 edges on the main panel
using a 1/2 inch hem. I have learned the the iron is my friend when is comes to
sewing. I iron my edges and then sew them shut.
I then have a panel with 3 finished edges and 2 pockets on it.

I then gather the top edge of the panel that has not been
finished. I like doing this by setting my machine to the longest stitch and
doing a quick stitch through the top of the fabric. I then pull the bobbin
thread to bunch of the top. This may sound a bit tricky, but I promise it is
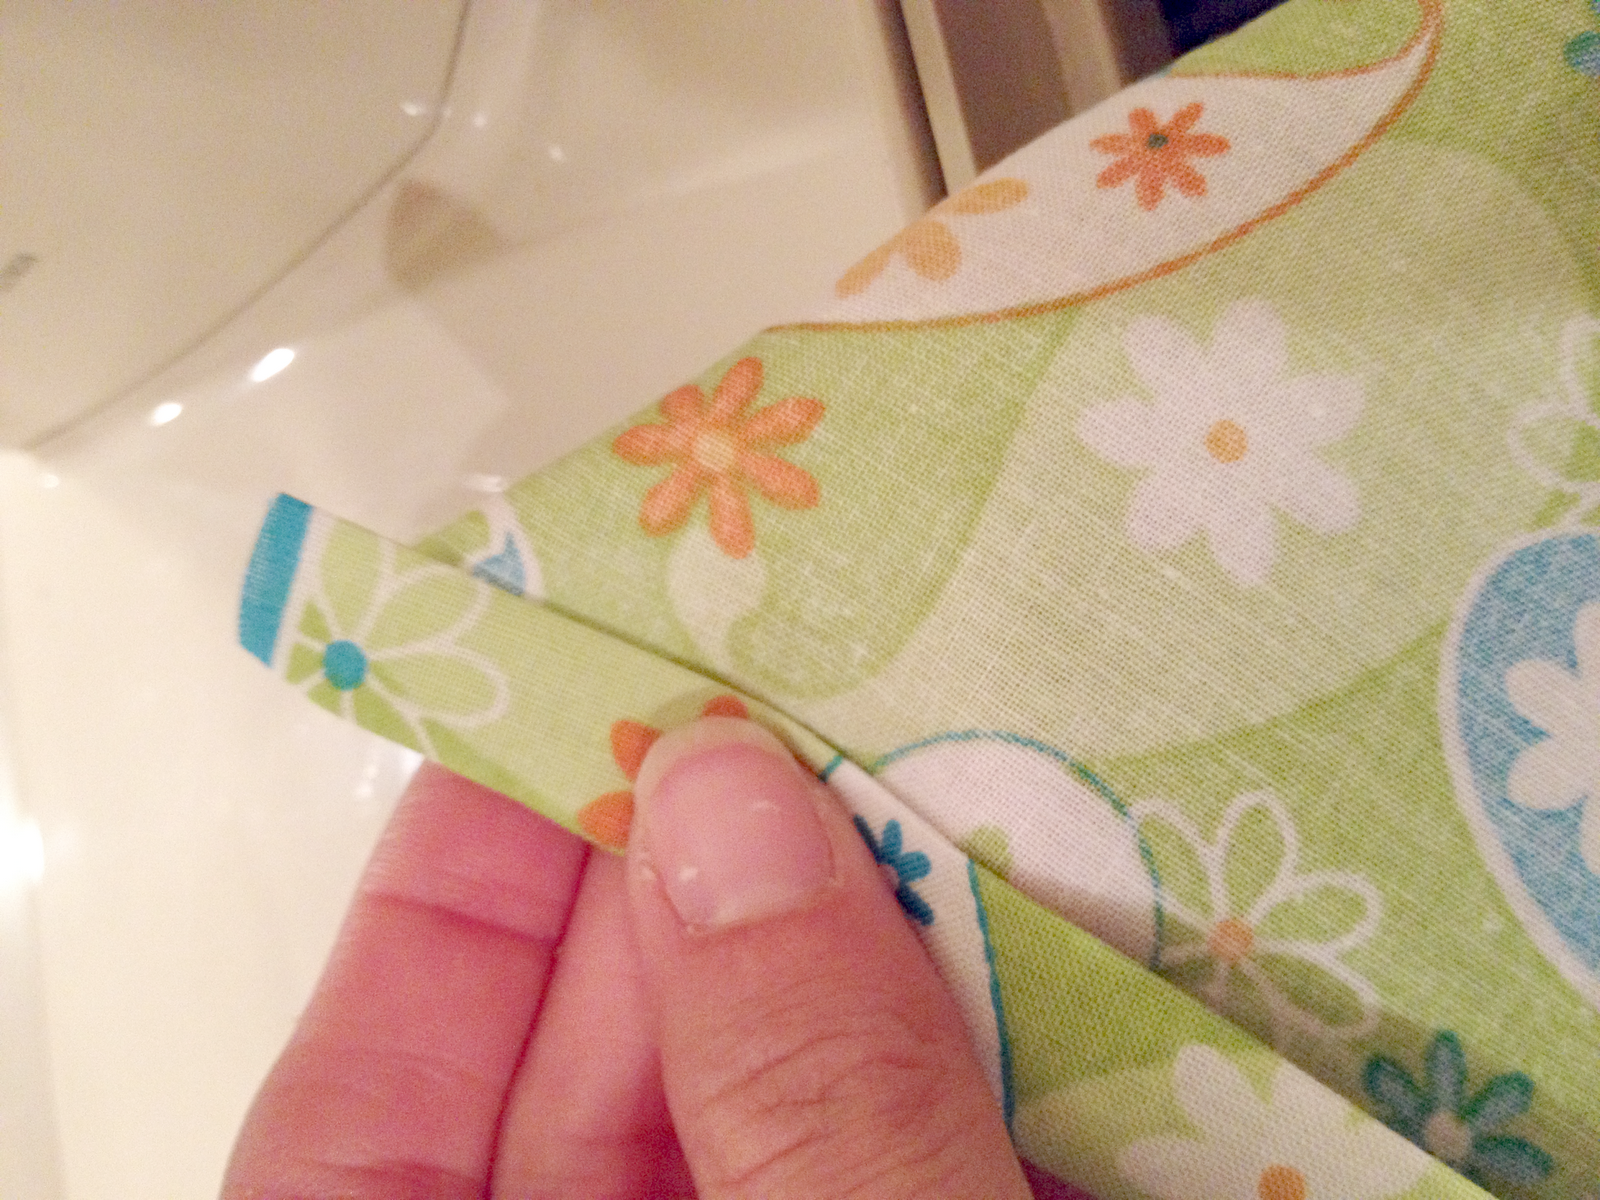
easy! After this portion is done I do the small panel that goes on the top of
the apron. To get the correct length I take the measurement from hip to hip and
make that the length of the panel and the height is 7” for a smaller girl. I
then ironed it in half and then the 3 edges flat to make it look like this.

I then take the raw edge and pin it to the gathered edge of the
panel and sew it together right side to right side.

Once that is sewn on the ties need to be made. to do that cut 2
lengths of fabric at least 16” long and 5” wide. Place them right side to right
side and sew them together to create a tube. Then turn it right side out and
iron flat.

Then place one end of the tie in the open top panel and another
tie in the other side.

After this is done, fold over the top panel and pin it shut.
Then top stitch around all the edges. This will close this panel and will
secure the ties in the panel.

That finishes off the apron. I like to add a personal touch to
this, so I took some fabric and ironed fusible interfacing to the back. I then
cut out the letter “C” for the little girls name and ironed it on the pocket.

And that is that! I really like making these and have fun in the
process. Here is another one I made with some felt food.


See, fun and easy gift! Have a great day!
No comments:
Post a Comment
I love to hear from you!