I recently went to a garage sale in the area. I had heard there was a lot of vintage fabric for sale and thought I could get some for my stash. As I went, it was a bit overwhelming. There were boxes and boxes of fabric. The lady's grandmother had died and they were trying to clear out her stash. I got a great deal on lots of fabric. As I was leaving she told me I could come back as she would have more fabric next week. I asked her how much she had left and she said 50 boxes. I thought I heard her wrong, she must have said 15. I asked again, how many boxes? Again she answered 50. I left feeling a bit overwhelmed thinking about how much fabric one woman had saved. It also gave me some perspective. As I am a thoroughly grateful recipient of this lady's fabric hoarding, I do not wish to put that on my kids as they one day may have to clean out my junk! So, I am working on whittling down my fabric supply (although the garage sale didn't help!) and have lots of projects I'm working on. I thought today I would show you a very practical one that is helping me sew. When I sew I always need an iron. I have an ironing board (one of those squeaky ones that creak obnoxiously when you open it) that is in my cleaning closet. It is loud and takes up lots of room. One day while mindlessly scrolling through Pinterest I saw a pin for an ironing pad that goes on top of a washer or dryer, BINGO! My problems are solved. I didn't want to buy it so thought I would try to make one.
I first bought some heat resistant batting. It is the kind that is used in oven mitts. If I did this again I would have used 2 layers, but I used one and it seems to be working well. I then cut out a piece of fabric the length of my washing machine. I decided to use 2 fabrics on my top so my top was pieced together like this...
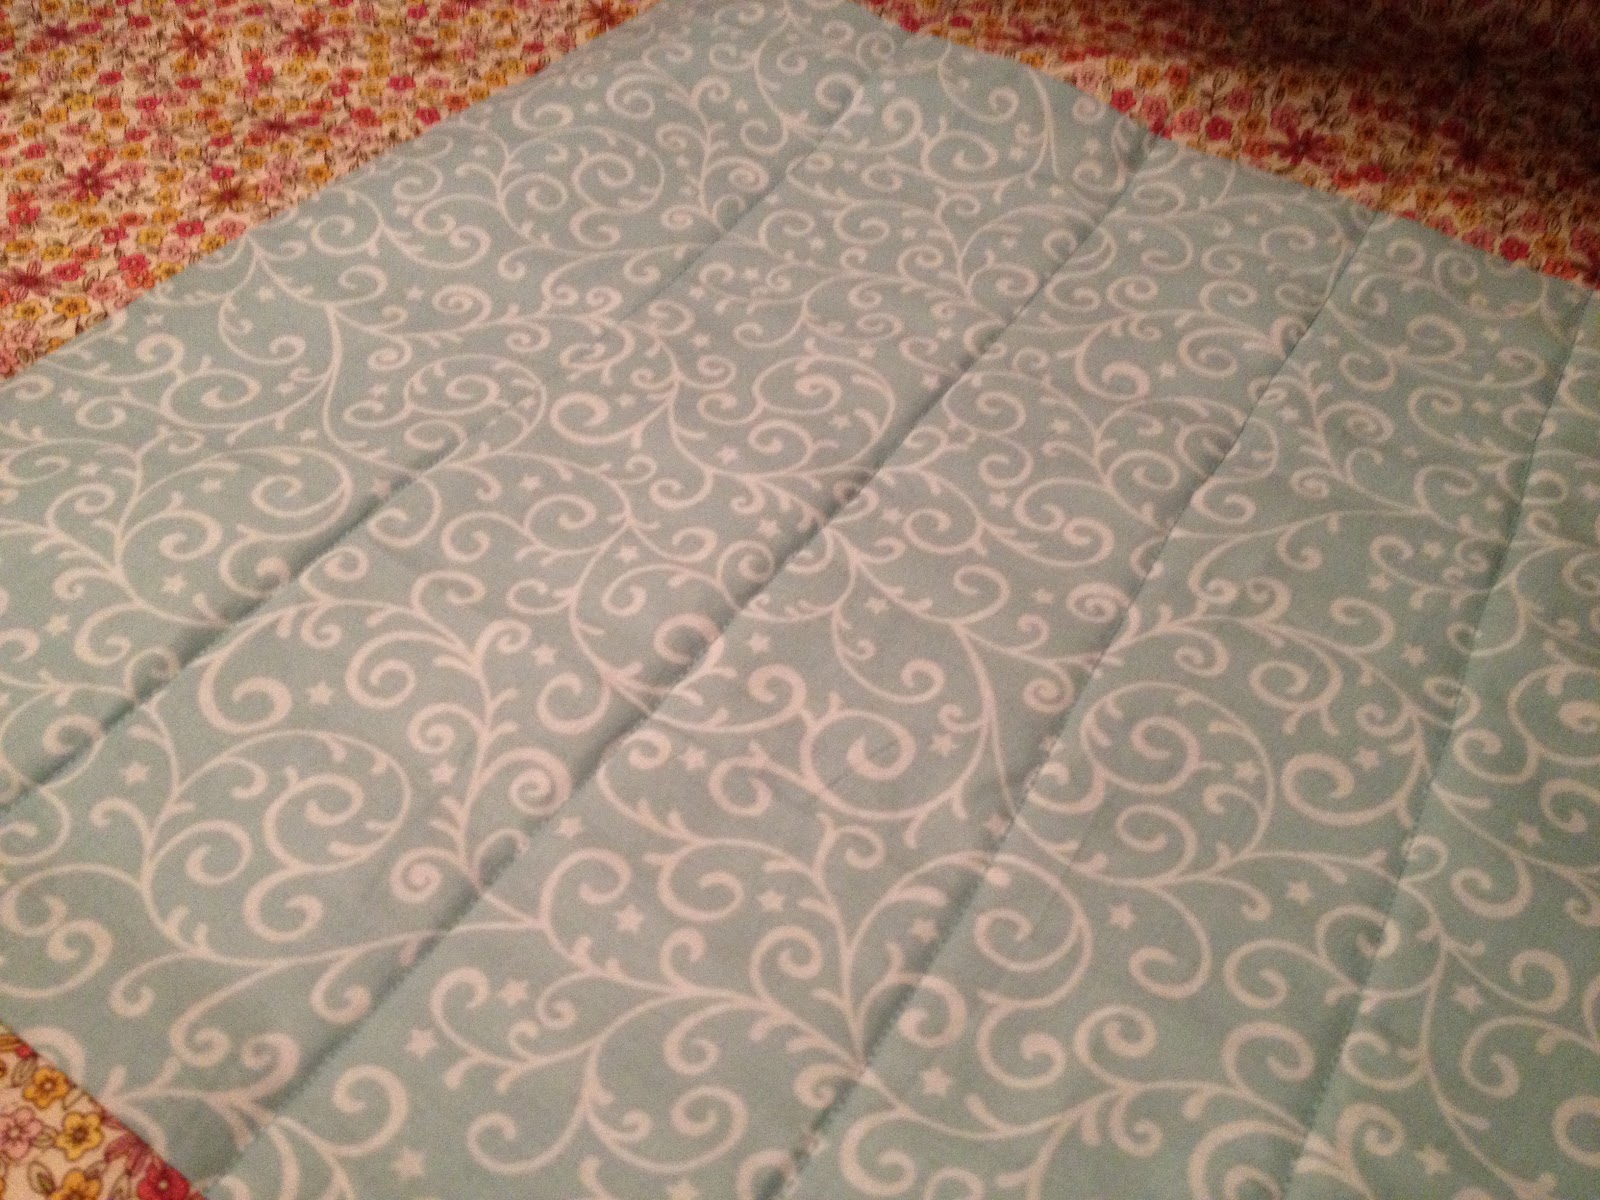
I have about 2 inches overlap on each side for seams. I then took the batting and did straight stitches through it to secure them to each other and make it look like it was quilted.
I then went to work on the side portions. I cut 2 pieces of fabric about 24 inches long and the length of the washer wide. I folded them in half and on the inside stitched pockets where I put a heavy duty magnet.
I put 2 magnets in each side pouch. I then folded them in half and sewed the sides shut.
I then flipped them right side out. Now I took the quilted piece and put the side pieces inside the quilted piece and the backing all right sides together. Make sure the raw side is on the outside of the square.
This is the most confusing part for me. When you look inside you should see backing, side pouch with magnets, then quilted portion. Then sew around the outside of the square and leave a small portion open. Flip it inside out then sew the open part shut. You should have a usable ironing pad now! Yea!
This is what mine looks like and truth be told, it is much easier to keep out to be able to iron when I want to!
Iron on!


neat idea! I hate getting my ironing board out...truth be told, I usually lay a beach towel on the counter! LOL! Your idea is much cuter.
ReplyDeleteI love that you use a beach towel. I always did that!!! That ironing board is so awkward!
Delete