Monday, April 9, 2012

A small table and some Easter goodness

I love the idea of re purposing things. I mean how great is it to be able to take some junk behind your shed and make it something awesome?? While pondering my excitement about restoring things I began to think about where that comes from. Is it some unique fascination I have with being thrifty? Ok, that could be a possibility. Is it the way I like to use up junk, or it is something deeper? I just finished the book of Revelation in the Bible and I love the hope that it brings in the last chapters to a wholly redeemed earth. It made me think about re purposing. It's as if our hearts were made for this. From Revelation 21:3-5 it says, "And I heard a loud voice from the throne saying, “Look! God’s dwelling place is now among the people, and he will dwell with them. They will be his people, and God himself will be with them and be their God. ‘He will wipe every tear from their eyes. There will be no more death' or mourning or crying or pain, for the old order of things has passed away.” He who was seated on the throne said, “I am making everything new!” YEA! The thing I was drawn to was the last phrase. I am making everything new. God is in the business of re purposing. He loves to take the things that have been discarded by the wayside and make them beautiful. It is not because of our own merits or goodness, but because of His goodness, sacrifice and awesome ability as Creator to make beauty from ashes. During this past Easter weekend I thought about  how God could have scraped everything and started over. He could have just thrown the world behind the shed and started again. But that is not His way. He loves to redeem and maybe that is why we like to. It is a bit of His heart reaching through trying to teach us how He can make all things new. Like Easter. He took the ugliest thing on this planet, a cross, and made it a symbol of hope. I am pretty sure the Romans never would have hung a cross around their neck, in their homes or as an adornment. It was a despicable thing yet those who follow Jesus see it as a symbol of hope. He has triumphed over death so that it is no more. That is the beauty. I think we all want that.

We had a relaxing and enjoyable Easter and love having the kids really grow to understand all that surrounds it.

Ok, so I was up late the night before finishing the girls dresses and Josiah's tie. I would highly recommend the tutorial for this tie. It is soooo easy and turned out super cute! It is from seekatesew and you can check it out here. I had fun making it and it took about 45 min, seriously!

How cute is this little guy and his first Easter egg? Ok, I know he's my kid so I can say that :)

I also made a lamb cake and this was the only picture that I took of it (lame), but I love the idea of incorporating Jesus being the Lamb of God from the Jewish tradition of Passover. Brooklynn told me it was not the best face I am clearly not an artist or good at cake making, but you get the point :)

Along the lines of re purposing we have a great porch in the front of our house. I have seen pallet coffee tables all over the internet and knew my porch would be a great place for one. I had a pallet sitting behind our shed for a while and got it out. I sanded it and then cut 4 - 4x4's to 8" long. This was seriously the easiest thing ever and I love it. I screwed in 4 wood screws per leg to the underside of the pallet to secure each of the legs.


It really was quick and easy to toe nail the screws into the top. 

I then stained the whole thing. I didn't do a great job staining mine because I knew it would be outside and I did want the rustic, weathered look. It was simple to do, but I love that it was free and I am now able to enjoy sitting outside on our front porch much more. Yea!


I love my new plants on the porch too! It is so shady I am hoping these will make it, they are supposed to :)! Thanks for reading!

Monday, March 26, 2012

A Little Book I've Been Reading

I love lists. I have some sort of thrill in checking things off and being able see things accomplished. Since having kids my lists rarely get done. I recently have put things on the list that I know will get done. Feed kids. Check. Bathe kids. Check. I love to be able to get some things done and still care well for my kids. In many areas of life we make lists. We plan, evaluate, then re-plan and reevaluate when we are working towards getting things done. Our houses, chores, parties and events, jobs, work performance all have these elements.  The big question today is: do we do these things for our kids?  Do we evaluate the job that we are doing as parents? Have I thought about the kind of young woman I would like Brooklynn to be when she is 18? What kind of skills will she need to navigate this world? How is she learning to help around the house? Is she learning how to use money well? These are some tough and all encompassing questions that I am afraid I rarely ask. Fairly recently I was introduced to a book called "Leading a Child to Independence" by Paul and Jeanne McKean. It was recommended by some parents that I really respect and have raised their four children well. I have been challenged and encouraged to see how I can be proactive in raising my children. This book is a bit dated, but many of the principles are right on.

 Honestly, how can you not love this cover? It seriously screams the 80's. I did say it was a bit dated :)

There are some great ideas in this book and because I am a list maker, I love the practical side of this book. There are 6 areas that they focus on to develop in your child and give very practical ideas on how to implement them. In part I they introduce the reasons behind the book and some basic ideas behind independence. Then in Part II they go through 6 areas of development expanding and giving examples for each. The 6 areas are: Spiritual Development, Physical Development, Intellectual Development, Social Development, Emotional Development and Financial Development. Each chapter has questions at the end of it. In Part III the authors focus on what it looks like to let go and how to let your child be an independent young adult. Also, there are resouces and worksheet in the back with lists (yea!) of ideas to develop each of these areas. Here is a picture of Chapter 10 (Financial) worksheet:


 I did feel a bit overwhelmed at times, but tried to remember that these are just ideas that I can use to grow my children. When my children are ready to leave the house, I want them to know who they are before men and God, be able to relate to others well, know how to do all the tasks in a home, know how to make a budget and stick to it, be able to give generously, know how to take care of their bodies and eat properly and have the skills needed to get and keep a job. These are some of the things my kids will need to be able to do when they go away to college or get a job and move out. I hope we can prepare them well as they grow towards independence. As with any list, not all will get checked off and I hope to hold these things loosely and reevaluate often. 

I know I am a work in progress as my kids will be. I by no means have it figured out, but thought it would be helpful to share a book that has give me some vision and ideas on how to implement goals for my children.

To end I thought I could show you some cute bookmarks that my friend made, just to keep it a bit crafty!


How fun are these bookmarks! Just a paper clip and a scrap of fabric. I use them all the time :)

Happy Monday!

Monday, March 12, 2012

Family Montage

We had some beautiful weather this week! I was so excited to be able to work outside and enjoyed every minute I could get. My mom and grandma were in town this past week and I enlisted the help of my mother to paint our shed (which is not the project I am going to show you :). We had enlarged it and wanted to paint it the same color as the playhouse. My mom helped me paint the playhouse almost a year ago and it was special for me because it was the last project we did together before she found out she had breast cancer. Since she had such intense chemotherapy it was a long road and she was quite tired. She is just now feeling back to her normal self and is able to help with some projects again! Whoo! It was a blessing for me to see her a year later feeling great (with shorter hair!) and back to her energetic self.


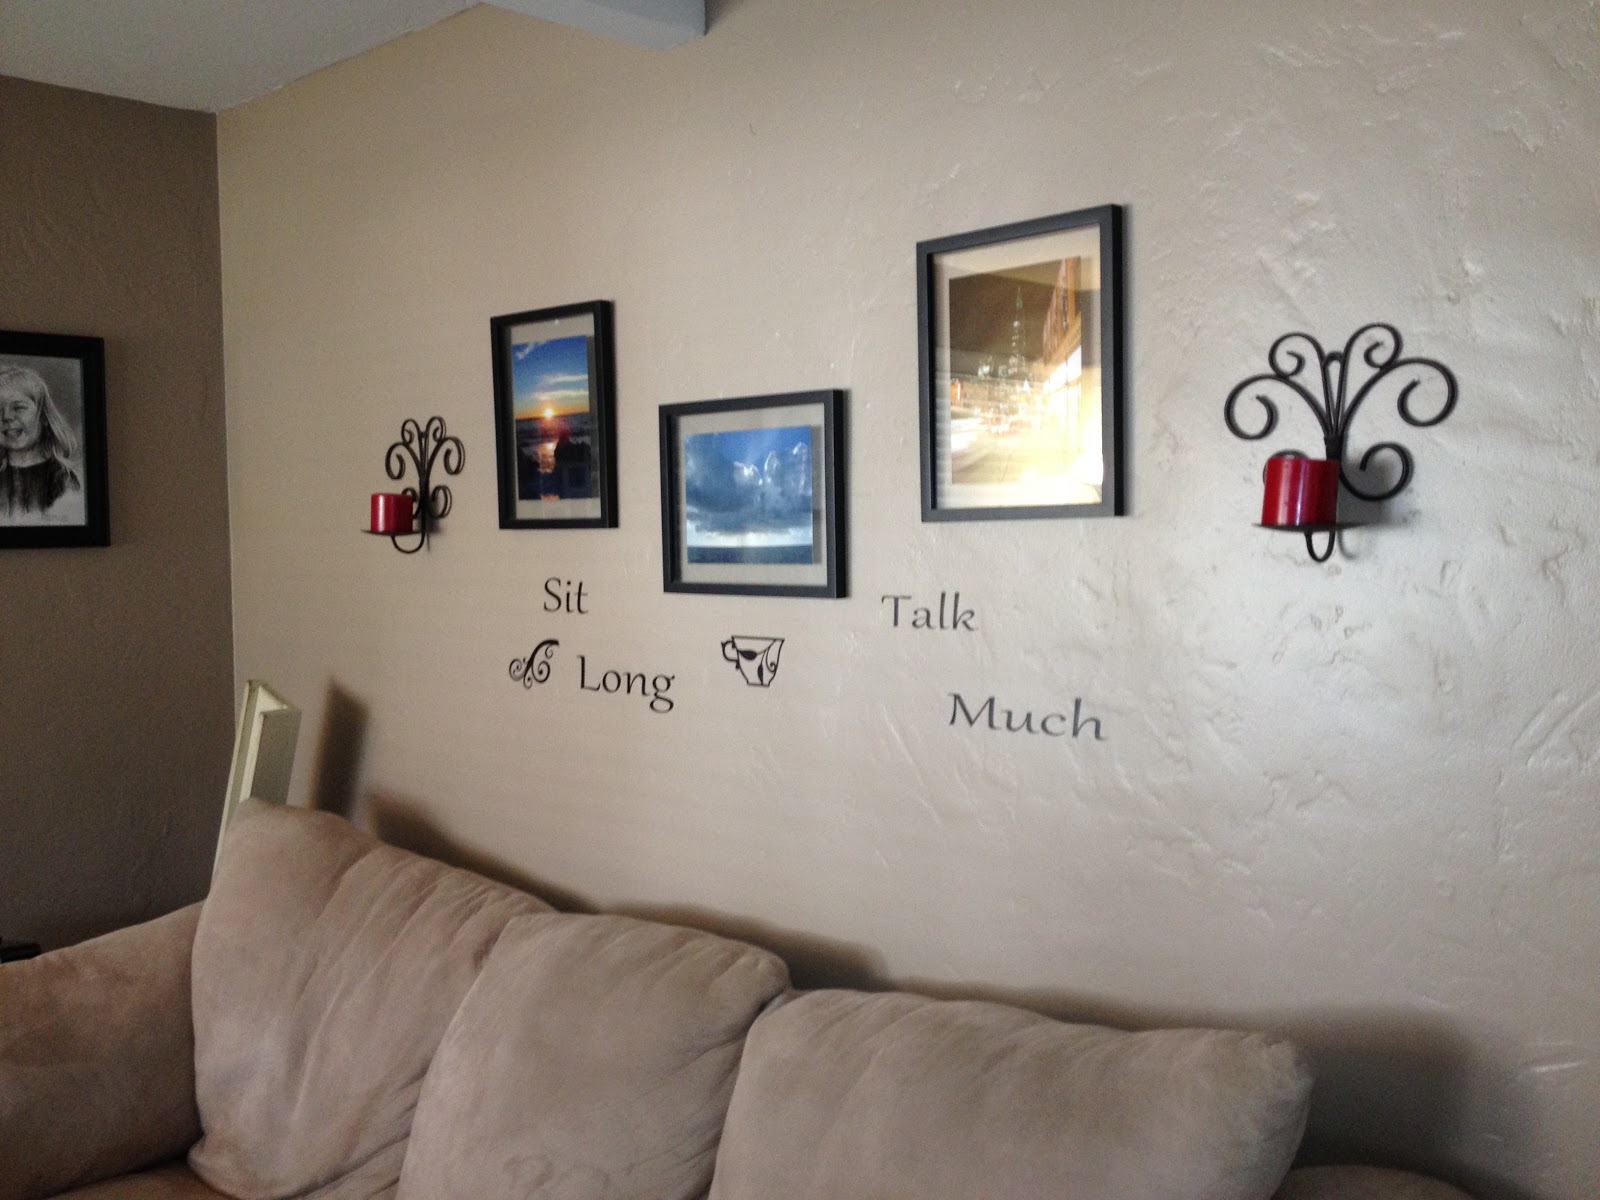
This last week I did take some time to change up the decor above my couch. I really wanted to make it more "me" and bring in more pictures of our family. I had seen so many different ideas that I wanted to incorporate so it was a fun project. Here is a before shot.


There were 3 pictures over the couch, boring! So I made some changes and love the way it looks now.


I made a picture shelf to hang on the wall, that way I was able to incorporate lots more pictures. I was able to take some old frames and spray paint them blue and green to add some color to the room. I used some frames that I had hidden away in a box and also bought a couple to make it complete.


 I used the rosette fabrics on the "D" as my inspiration for the color scheme. I am excited to make some pillows in the near future with these fabrics! I love the yarn wrapped everything that I have been seeing on Pinterest, so I included it in the montage.


I took the wood bunting that says family and made a quick decor piece for it to go on. I also used fabric covered buttons to adhere it to the board.


I also added a quick jute wrapped glass bottle for a vase to be on the shelf.  

 
I am super happy with this, a bit of an improvement that makes me happy. Sometimes it is the little things, right? Here is a quick side by side.


Have a fabulous day!

Tuesday, February 28, 2012

New Projects...

I like to do a myriad of things. Looking back, I have always been dabbling in a bunch of different hobbies! In high school I played basketball, crocheted, always had a novel I was reading, played guitar, led a bible study, ran early in the morning and of course went to school. At different points in the year my life was more focused on one area than the rest. I just like dabbling in different things. I have been trying to determine what I really enjoy working with in the craft world. I wanted to focus my Etsy store on things I really enjoy and what would be most fun for me to work with. After lots of consideration and thought I decided I love working with wood and fabric. More than anything though, I love making things personal!! I decided that I want to focus on things that can be personalized. So, I am introducing my first wood and fabric products that can be personalized. Here are the first two for you to see.


 I love these miniature pendants that can go anywhere in the home. The pendant is wood and the letters are painted. They are 3.5 inches tall and 1/4 in thick. I love that these are small enough to make a statement without being overwhelming.


I also love this longer one. I think the wonderful thing about these is that they can be as long or short as you want. They can be personalized to be a name, a special memory or place. What about one that says "thanks" to use in a picture. I might just make one for my kiddos to hold for some picture thank-yous!

I am hoping to come up with more designs to put in the store, but I had to show these!

I also found this awesome tutorial on a baby blanket that I had to share. It is a triple stitched blanket by No Big Dill. You can find the tutorial here. She did some fun blankets with a simple edging to give it a quilted look and I loved it. This is the one I made. Looking  back I used a much bigger edging for the blanket and I used a satin edging. It is great to the touch, but not as easy to work with. I had a hard time getting the corners to look right, but I suggest using lots and lots of pins!

 I did a little embroidery to add a personal touch to the blanket.

 I stitched around the edging 3 times and followed the directions from No Big Dill. Worked like a charm.

Love this blanket, I kinda want to make one for myself :) Thanks for looking and let me know what you think!


Wednesday, February 22, 2012

Ironing Board, well kinda

I recently went to a garage sale in the area. I had heard there was a lot of vintage fabric for sale and thought I could get some for my stash. As I went, it was a bit overwhelming. There were boxes and boxes of fabric. The lady's grandmother had died and they were trying to clear out her stash. I got a great deal on lots of fabric. As I was leaving she told me I could come back as she would have more fabric next week. I asked her how much she had left and she said 50 boxes. I thought I heard her wrong, she must have said 15. I asked again, how many boxes? Again she answered 50.  I left feeling a bit overwhelmed thinking about how much fabric one woman had saved. It also gave me some perspective. As I am a thoroughly grateful recipient of this lady's fabric hoarding, I do not wish to put that on my kids as they one day may have to clean out my junk! So, I am working on whittling down my fabric supply (although the garage sale didn't help!) and have lots of projects I'm working on.  I thought today I would show you a very practical one that is helping me sew. When I sew I always need an iron. I have an ironing board (one of those squeaky ones that creak obnoxiously when you open it) that is in my cleaning closet. It is loud and takes up lots of room. One day while mindlessly scrolling through Pinterest I saw a pin for an ironing pad that goes on top of a washer or dryer, BINGO! My problems are solved. I didn't want to buy it so thought I would try to make one.

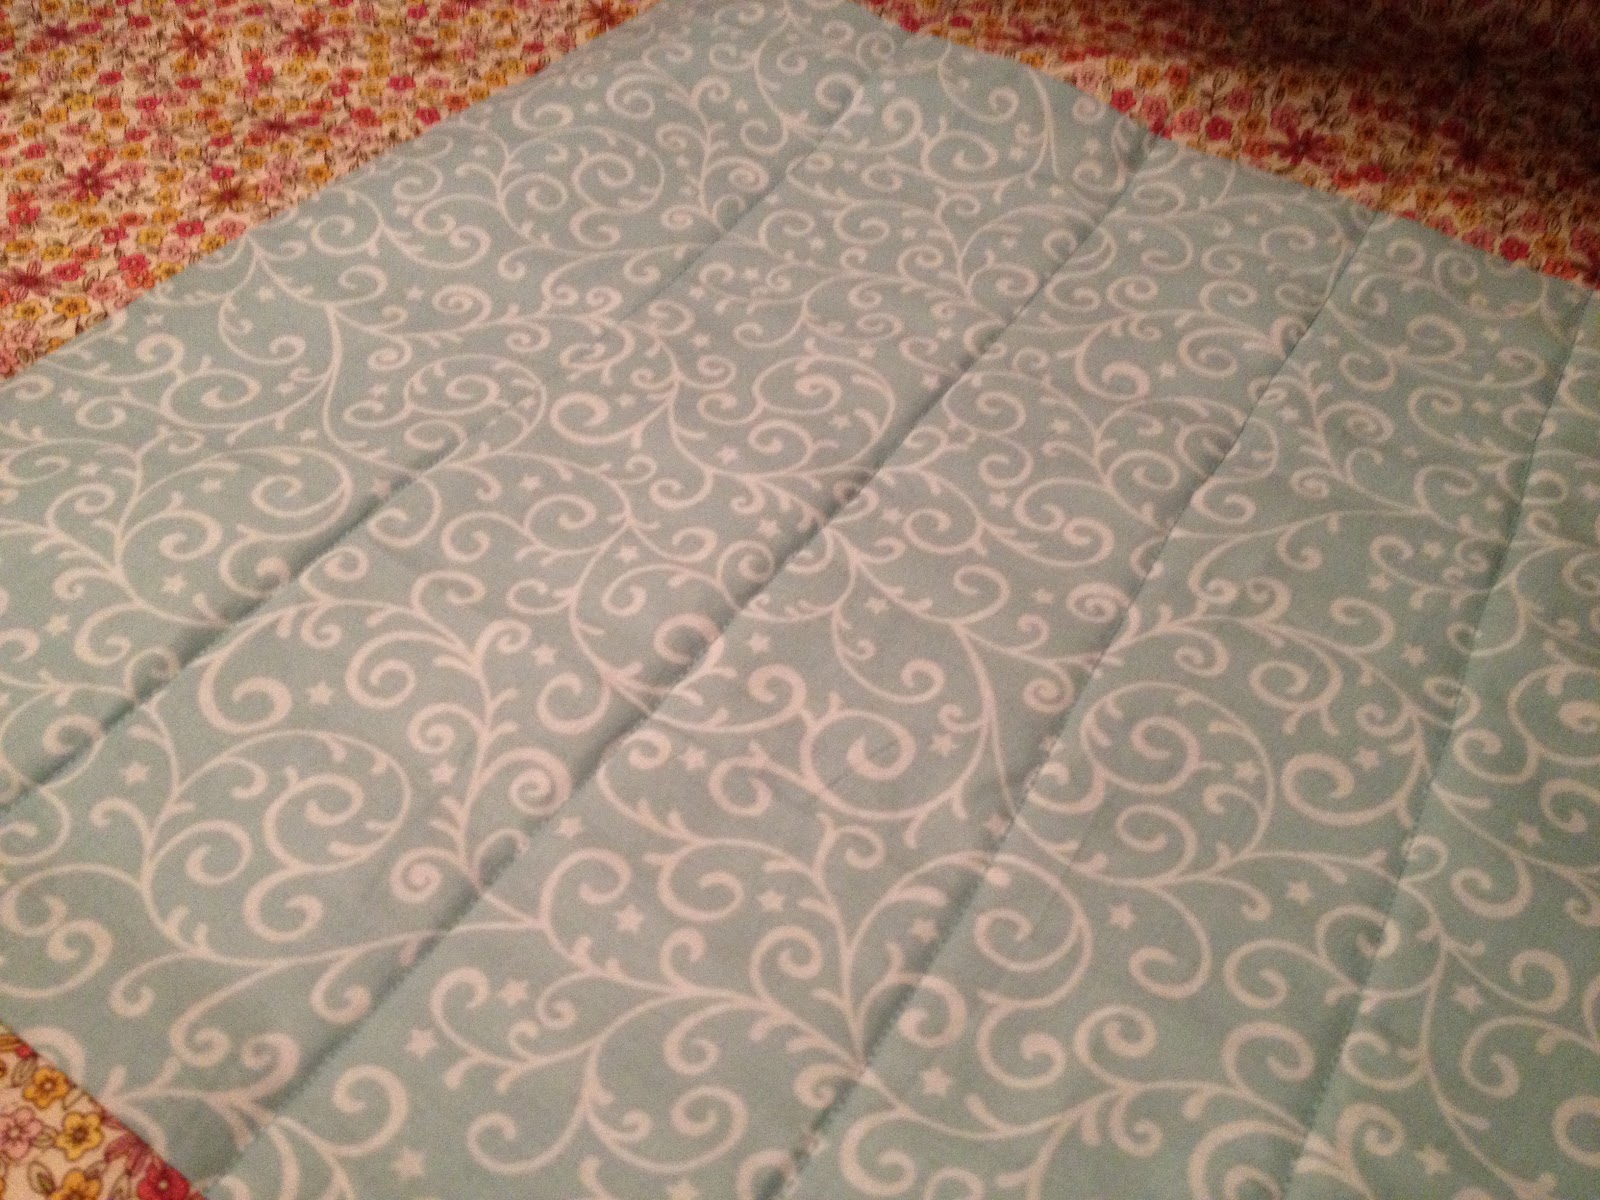
I first bought some heat resistant batting. It is the kind that is used in oven mitts. If I did this again I would have used 2 layers, but I used one and it seems to be working well. I then cut out a piece of fabric the length of my washing machine. I decided to use 2 fabrics on my top so my top was pieced together like this...


I have about 2 inches overlap on each side for seams. I then took the batting and did straight stitches through it to secure them to each other and make it look like it was quilted.


I then went to work on the side portions. I cut 2 pieces of fabric about 24 inches long and the length of the washer wide. I folded them in half and on the inside stitched pockets where I put a heavy duty magnet.


I put 2 magnets in each side pouch. I then folded them in half and sewed the sides shut.

I then flipped them right side out. Now I took the quilted piece and put the side pieces inside the quilted piece and the backing all right sides together. Make sure the raw side is on the outside of the square.
This is the most confusing part for me. When you look inside you should see backing, side pouch with magnets, then quilted portion. Then sew around the outside of the square and leave a small portion open. Flip it inside out then sew the open part shut. You should have a usable ironing pad now! Yea!


This is what mine looks like and truth be told, it is much easier to keep out to be able to iron when I want to!


Iron on!


Thursday, February 16, 2012

Valentine's Day

I'll be honest. Valentine's Day is not big at our house. Don't get me wrong, I love pink, red, hearts and of course love. I am just not the gushy romantic type. I usually like to take my kids (and myself) out for a special treat and make them wear red. I say all this because I was so excited when one of my close friends said her mom was in town and wanted to have a Valentine's day party. My friend and her mom are super creative with a fun style so I knew they would have some fun things at the party! We are thankful that they are always willing to lovingly open their home. They did a great job setting up the party so I had to share it here. Sorry about writing about so many parties lately, but it's that time of the year in our house! Thanks Adrienne and Joanie for a very fun party!


On Valentine's Day my girls got their choice of hot chocolate or vanilla milk, with all the goodies on top of course!! The local coffee shop we went to even let them pick their sprinkles. Colorful hearts for my older daughter and colorful dinosaurs for my younger daughter!

Ok, first of all how cute is this. We were able to take pictures with this and doesn't this little guy look handsome :)!


 There were lots of yummy desserts. Chocolate dipped marshmallow pops, sugar cookies, licorice, cupcakes! The kids were ready to dive in the minute we got there. 

There were fun heart shaped peanut butter and jelly, straws with hearts on them, strawberries cut into heart shapes and red baby bel cheeses. One of my favorites is the gigantic metal heart in the back, fun huh?


I thought this chalkboard was super cute. I know that the picture is a bit reflective, but it is the verse John 3:16 with Valentine written through it.

I love this cute mantel with hearts hanging with bakers twine. She also made the garland of hearts out of magazine paper. Too cute!


Whew! I get tired just from showing you all the fun stuff. Thanks so much Adrienne for a fun time!

Happy Valentine's Day!!

Monday, February 6, 2012

Brooklynn is 5 and a Rainbow party it was!

My oldest turned 5 last week. It is a bit of a milestone for me. Really, 5? Sniffle, sniffle. I felt like all mothers were telling me was to cherish the time when she was little, it goes by so fast (anyone else heard that?!) The reality though is that they are right, and now I find myself saying that. Brooklynn came into the world early on February 3, 2007 and was a little thing at 5lbs 3oz. I was having complications so I was induced 3 weeks early and had a very smooth and quick delivery. It was a fairly crazy time in my life as we were planning on moving the day she was born. We had just sold our house, found a rental and my husband had just changed jobs. It truly was a crazy time, but I know that God had his hand in that season of life. She was such a good baby and we truly are so thankful to have her apart of our lives. Here is a picture of her a couple days old.

Awww, I know so little. She has grown up into a fun, creative, talkative and kind little girl. Happy Birthday my sweet girl!


After much discussion we decided to have a rainbow party. I had seen a cake on Pinterest that I wanted to try out! The party was fun despite the fact that she had a double ear infection :( I was able to find a great printable package on Etsy that gave me some fun things to work with. You can check it out here. We played games, ate food and had fun. What more could we ask for! Here are some pictures from the party! 

I have to admit I loved the way the cake turned out. I was a bit leery when all the layers came out, but when I put it together it worked. I love it when thing work right the first time. I did buy a bag of skittles and had Brooklynn separate them all for me by color. She loves doing things like that and it worked out for me! I was then able to use them as decoration on the cake and table.


I also made a garland of circles in rainbow colors. I used a circle punch to make all the circles and then sewed them together. It was super easy but turned out cute. 


I also used a bunch of fruit loops to hold my pinwheels. I again had my daughter separate them and then I used some of the printables to put around the jars.

I liked how these turned out for a low cost. I think all the colors were so fun and the kids loved it.  One of the games that we played was hiding strips of colors and letting the kids find them. We sang a rainbow song and the kids had to hold up their color when we sang it. I also read the story of the flood from The Jesus Storybook Bible. I love this bible and the way that is is able to bring all of the stories back to Jesus. The rainbow is such a powerful reminder of God's covenant to us.

I know the 5 is the beginning of a new era: Bring it on school!

Wednesday, February 1, 2012

When you just don't know what to get...


My husband turned 30 this past week (and yes I am already 30!) I really wanted to be able to celebrate my husband and all that he has accomplished, but I think men's gifts are the toughest!  Usually the gifts men want either cost hundreds of dollars (tools, electronics, car gear, TV's, etc.) or if they really want it and it is affordable they go out and buy it. Sigh. So since I want to do something special for my husband so I ended up compiling a little book of words, notes or blessings from friends and family. Some of you may be on top of things, but usually I function in last minute. So I was proud of myself when I was able to get an email out early, yea! I wrote a short e-mail asking for letters e-mailed back so that I could compile them in a book. I wanted them in digital format so all I had to do was cut and paste. 

I thought this would be a great gift as all of us need some encouragement at times! I wanted this to be a tangible way that he could be reminded of how many people love him. Wanting people to have some time to write back, I had this printed and bound locally. Many online or photo book sites would be a great resource to use to make one of these as well. I downloaded a photo book template in PowerPoint and added all my text and photos to that document. 


 I decided to print on paper and have it spiral bound. I put a clear vinyl over the front page and then black on the back. 


I included some pictures but it mostly consisted of letters. It was pretty easy to put together and cost about $10. I know that our words can be a great gift!! 
 
Do not let any unwholesome talk come out of your mouths, but only what is helpful for building others up according to their needs, that it may benefit those who listen ~ Ephesians 4:29