Monday, October 17, 2011

Subway art

 A while ago I posted on some subway art I had done (if you want to check it out click here.) A friend had seen it and asked if I could do a Bible verse for her family. I told her I would love to do it! She wanted some verses from Romans 12 and some small blocks. I asked her for some pictures of these on the wall and she graciously gave some to me. She is a great photographer and my kiddos love her! You can check out her blog here. I thought I would show you some of the word blocks before and then after on the wall. I had a ton of fun doing these and are glad that they have spruced up their space! 

A couple different looks of the small blocks that I made. They are all 6.5 x 11 inch blocks.

 Here are the pictures of them up. Fun to see them in action!


I didn't get a picture of the big art, but it is from Romans 12.

Thanks Jenee for the fun pics!!!

Monday, October 10, 2011

Hall Change!

I love batten and board! I looked up tutorials on how to do it and I found about 2,747,832 different ones. Seriously, there are a lot! I have this funky space in our hall that was just begging for something. I didn't want another thing to clean, but we really needed some kind of coat rack. After pa-rousing the web, I definitely landed on batten board. I really enjoyed this project. It was a lot of bang for little buck. It did take about 4 weeks for me to finish this, especially since I decided to paint the whole hall! There are definitely great tutorials on the web so I'll just show you my transformation.

 This was the corner of my hall. It was plain and needed to become useful!

 I used 1x2 and 1x3 for the board. I used liquid nails to adhere it to the wall. Screws and blue tape were my favorite to keep them there!

 I had thin baseboard so I cut the bottom of the 1x2 at a 45 degree angle to tie it in.

 I then caulked that baby up and got it ready for paint.

 I then primed and painted the wall and boards. I then decided that I needed to paint the whole hallway.

 Here it is all done! Yea. This is a view from straight on.

 This is the view from looking down the hall.

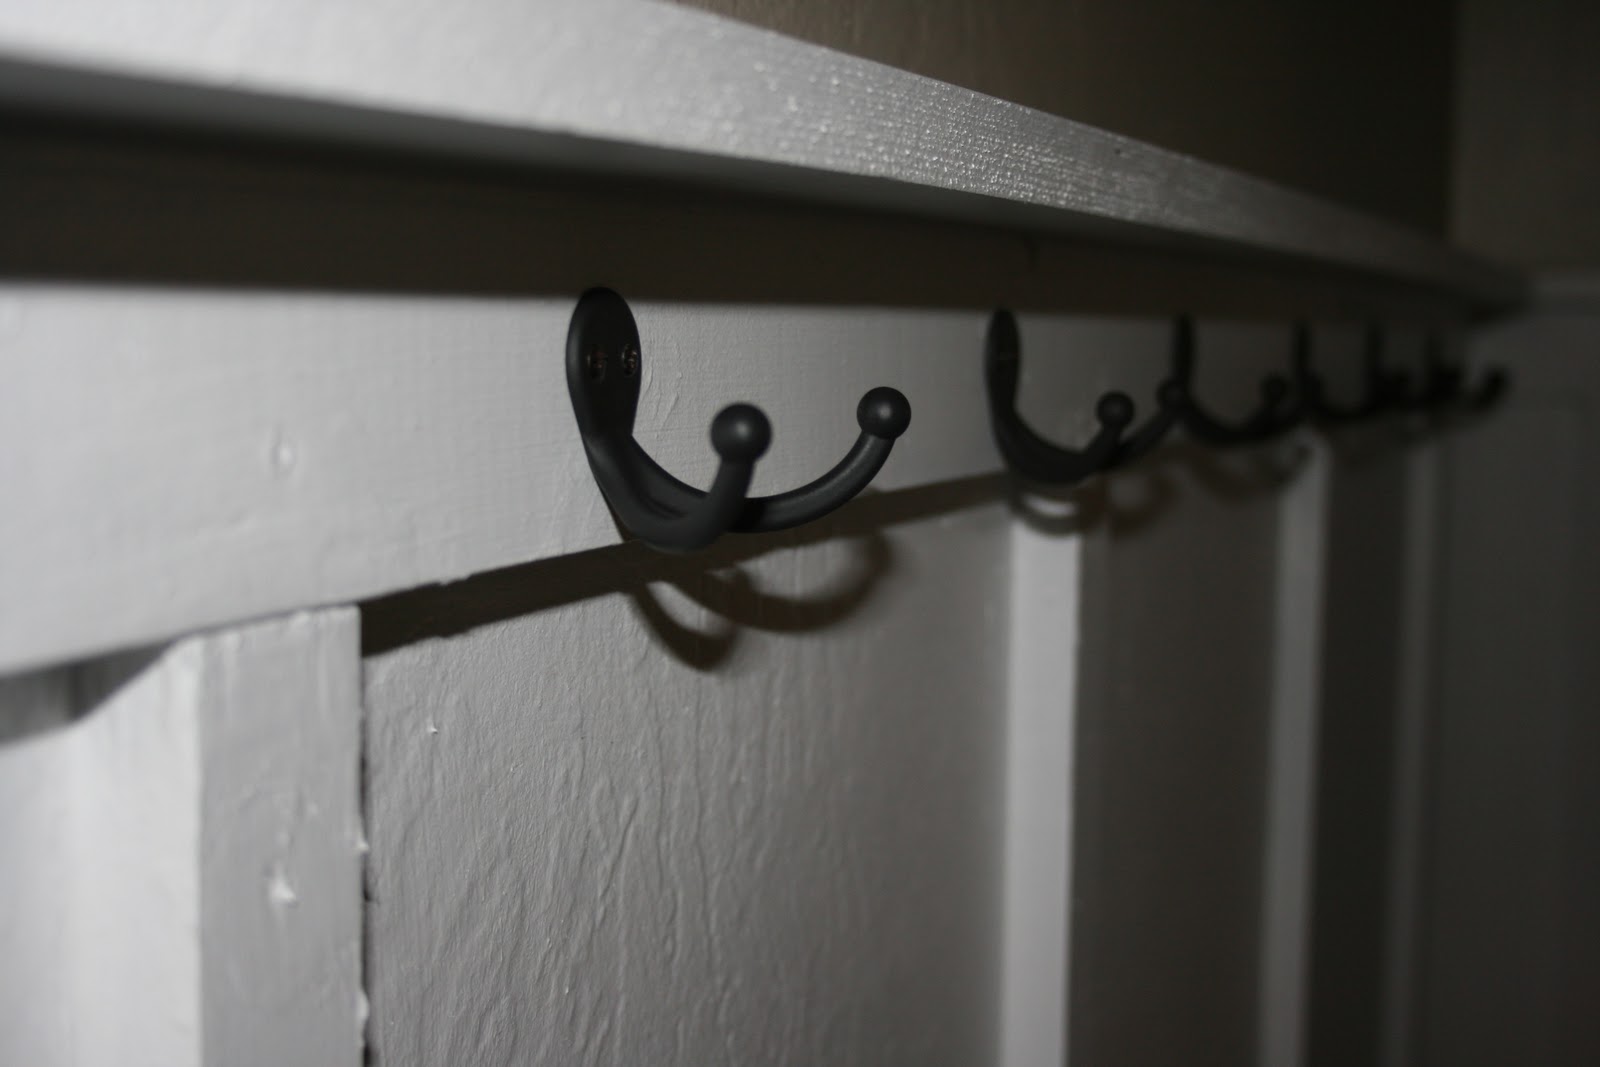
 I really like the double hooks so I can hang more things! Not a bad deal at $3 for 2 hooks!

 This is also some vinyl I did above the kids baby pictures in the hall. I really like it :)!

A close up of the vinyl. I really love the new color of the hall! I love the hall being functional and pretty. What more can a girl ask for!

Also, my grandma wanted to see some recent pictures of the kids. Here they are grams!

 Awww. Sisters!
 I love this pacifier, so fun for the fall.

Have a happy day!

Tuesday, October 4, 2011

Quick shirt

I had seen this shirt on Pinterest and thought it would be so fun to make. It looked really easy and I thought if I could make it pretty quick it might be worth my time!! My cousin has moved to the same town where I live and so we had a fun night of watching a movie and I sewed this top. Fun times for an old lady like me! Ha! The shirt I used for inspiration is located here.


This is the fabric I picked for my shirt, it wasn't my absolute favorite, but I like making things twice. The first time I figure out all the bugs with the pattern and the second time it usually turns out perfect (ok, not perfect but much much better!) So this fabric was in the clearance section so I could take a shot at it!


First I measured the widest part of my torso. It is usually in women's hips, so it is a good place to start and then I added 1 inch for seam allowances and cut two rectangles measuring length by how long I wanted the shirt. I first sewed the sides together and left about 5-6 inches open for the armholes.


I then pressed the seams open and sewed the armholes down.


I then folded down the top of the tank about 2.5 inches and sewed the tube closed.


I then folded and ironed a hem on the bottom of the shirt and sewed the hem.


I then cut 2 feet of fabric about 4 inches wide and folded over the fabric right side to right side. I then sewed it closed and turned it inside out and ironed it flat.


I then put the fabric through the two tubes on the top of the shirt that I had created. I tied it off on the side of the shirt. Here it is on me (let me just say I do not like posing, ha!) It took about 1 hour and I think I am ready to do another one in a solid color. Should be fun!


Monday, September 26, 2011

Little Boxes

This past weekend my husband and I were able to get away to San Francisco for the weekend. The girls stayed with my husband's parents (Josiah is still somewhat attached!) and headed to the foggy city. We had a fun time and were able to see some friends and family. This trip I wanted to head to some of the large fabric stores. We went to one of the most famous and oldest fabric stores in San Francisco, called Britex Fabrics and bought a couple fabrics which I'm very excited to make into some cute things.

In the blogging world though I thought I would share something I made for my desk. A while  back I knew I needed some organization in my new space so I took an idea I saw from Shanty2Chic and made it mine!

 I started with a yogurt box because I thought it would be the perfect size to put mail and bills that needed to be paid.

 I then cut them in half and got out my trusty glue gun.

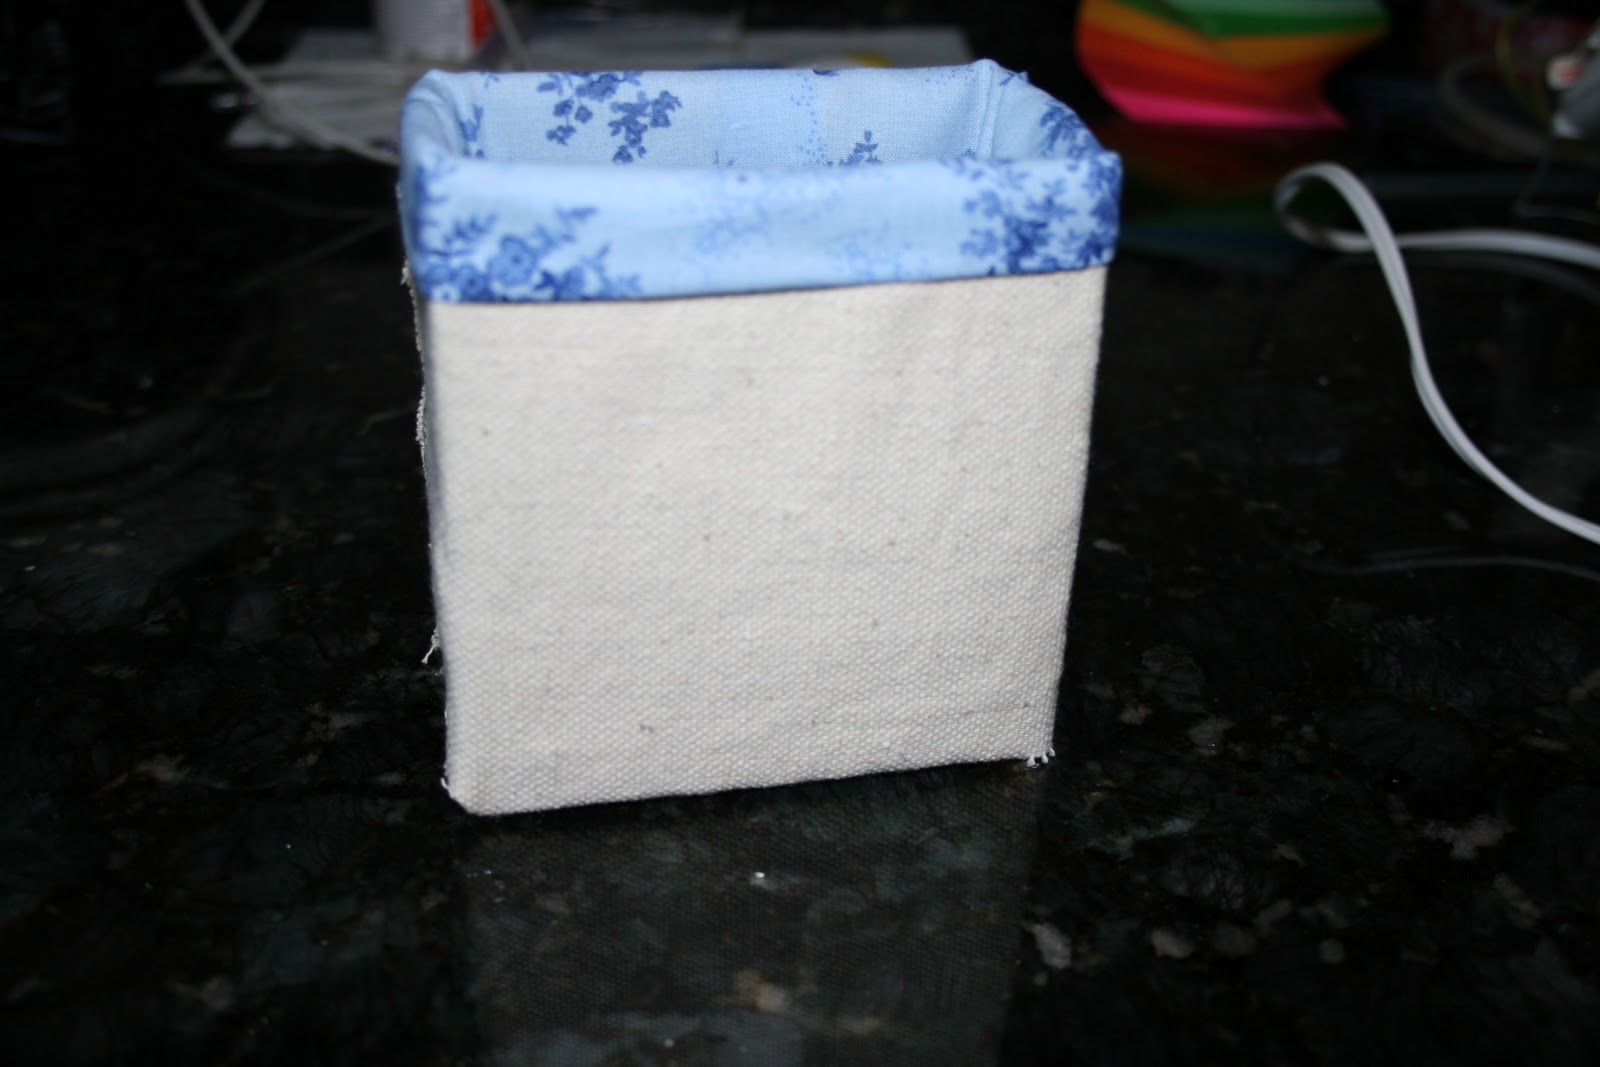
 I then got some fabric that I had, it is actually a painters drop cloth (shhhhh!) and glued it to the box. I made sure to have enough to fit around the box and then cut the sides to go under the side fabric. There are a couple of ways this could have been done, but mine didn't need to be special, so I just did it quick! I then tucked the excess fabric inside the box.

 I then picked out my accent fabric and folded over one side and glued it to create a clean edge and then glued the rest around the top of my box.

I like how these little guys came out and they are turning out to be quite handy in my work station! I do have 2 of them and made a little rosette to put on the second one. They turned out great!

Hope you all have a great day!

Tuesday, September 20, 2011

Skirt for me!

This past week my husband and I celebrated 8 years of marriage, whoo! The years have flown by in one sense and yet it seems like yesterday that we were dating and in college. Can anyone relate??? I has been a great 8 years and I do truly feel blessed to be married to a man who loves me, our family and works hard for us. I am really looking forward to getting away with him for a couple of days this weekend without the girls , yea!!!! Well in the craft world, I have been working on some sewing projects for me. I loved the skirts that I made for the girls this past summer, but have wondered if it would look good on me. I really love skirts especially in the heat! I found some fun fabric from our local quilting shop, Honey Run Quilters and went to work.


I first picked a yard of fabric from the store.


I then sewed the ends together to make a tube and pressed them flat. Pay attention to the pattern of the fabric. Some fabric it will not matter, but with mine I wanted to line up the chairs and have them vertical on my skirt.

I measured and I wanted a 2 inch ruffle on the bottom, so I cut 4 four inch strips of the fabric I was using for the ruffle.


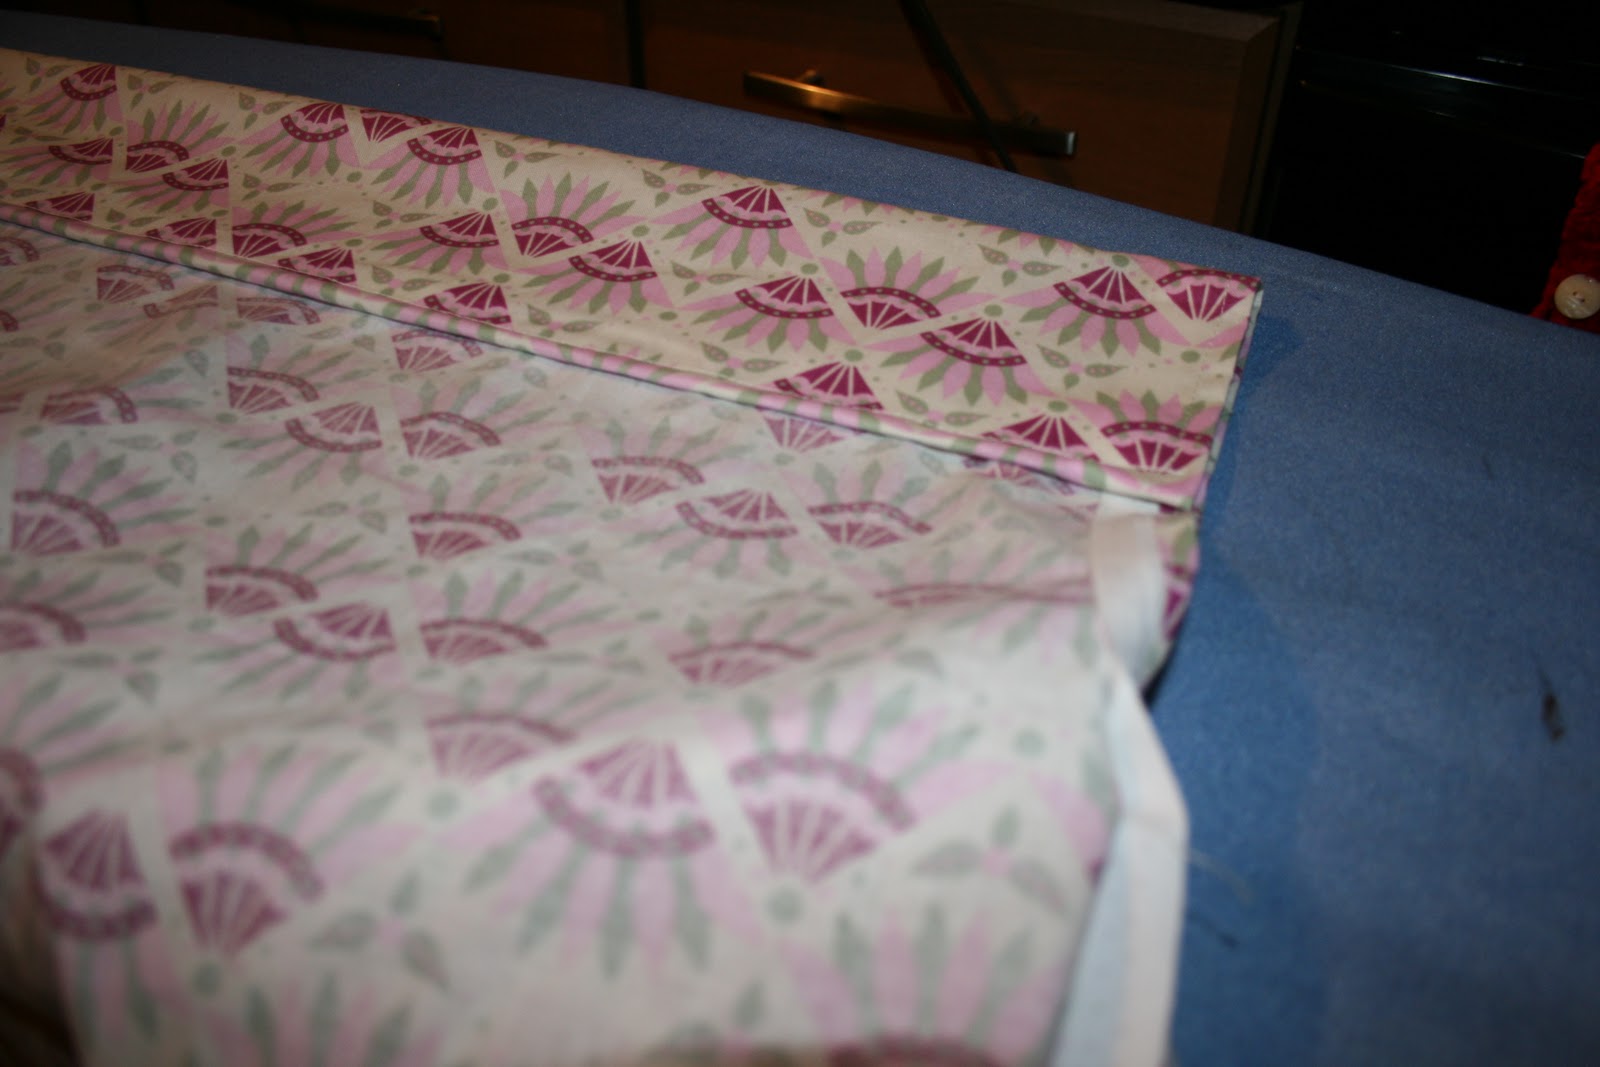
I then pressed the fabric in half.


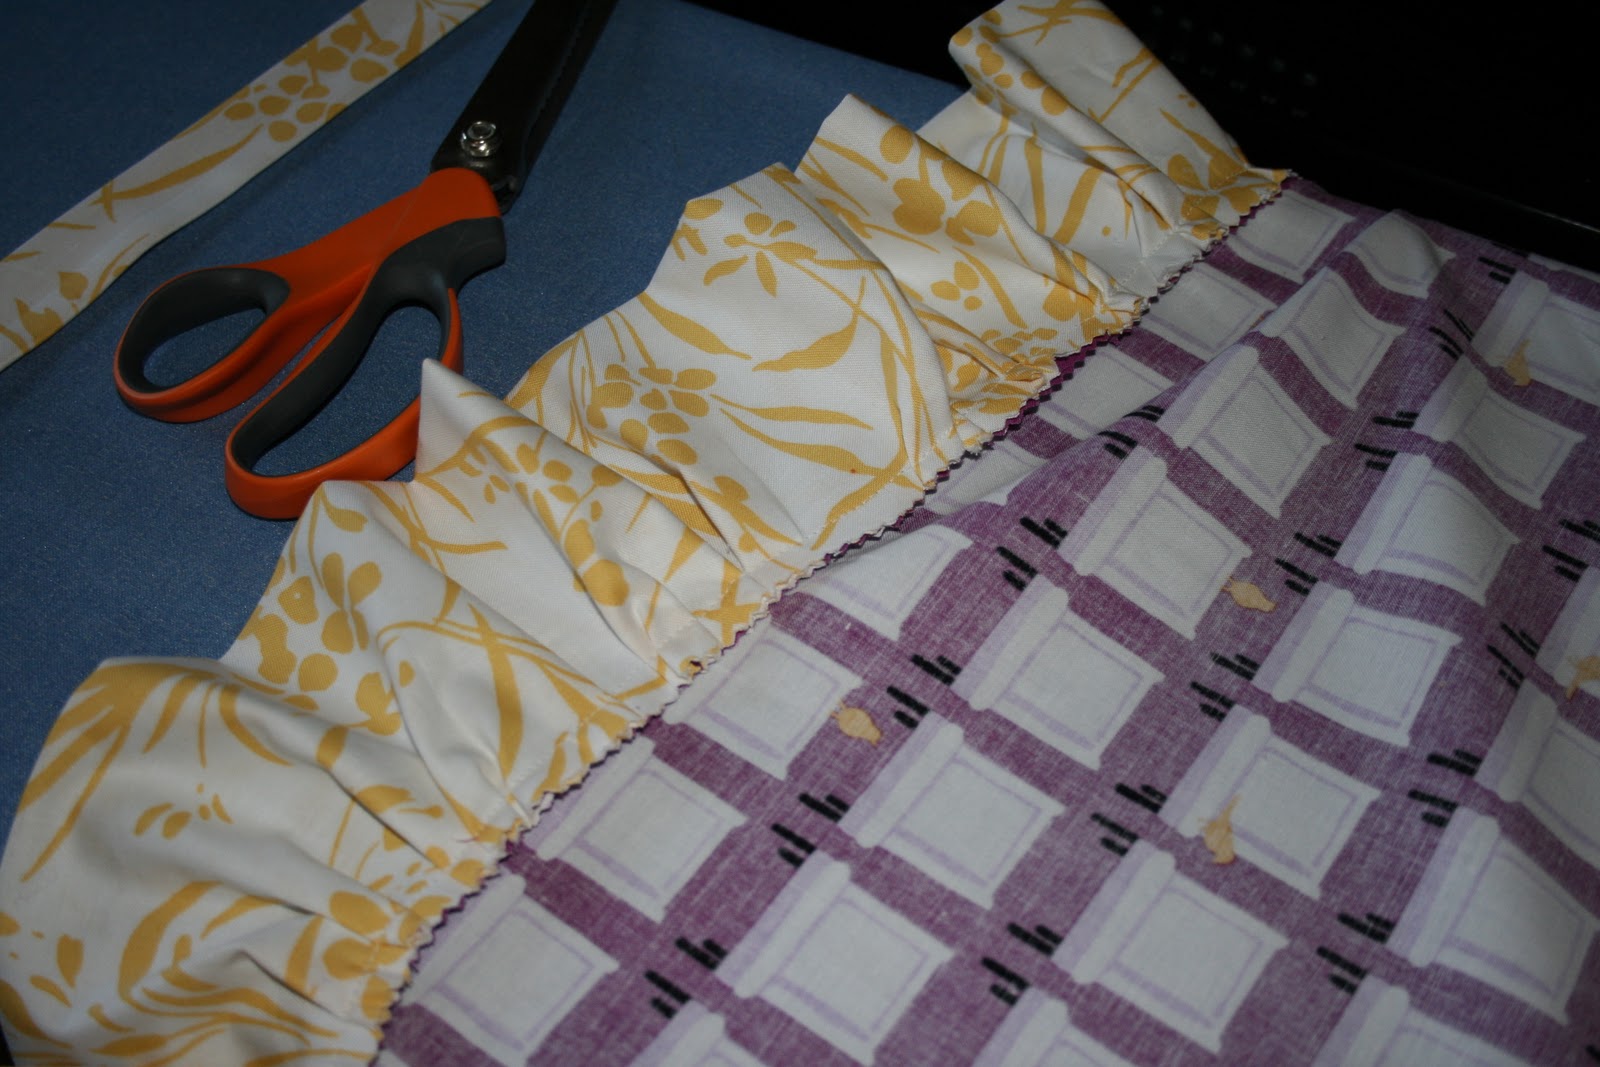
I then sewed raw edge to raw edge keeping in mind the pattern of my fabric. I like to gather my fabric to make the ruffle while I am sewing it to the skirt. If you prefer to premake the ruffle just make sure you have enough fabric.

I then took the measurement of my elastic and sewed a tube about 1/4 of an inch bigger than my elastic. I threaded the elastic through the tube making sure to leave an open hole to be able to secure the elastic later.

Once it was feed through I did two zigzag stitches to secure the elastic and then sewed the hole closed.

Turn the skirt back out and that is it. This is a pretty lame picture of me wearing the skirt. You can see I was holding one of my daughter's while I was trying to get a decent picture of me in it. Some things you just can't win, ha! Just trust me, I love it. It is super comfy and only ended up costing $7! Yea! Hope your Tuesday is going well!


Monday, September 12, 2011

My new shop...

I thought I would begin this blog post before Josiah's birth. I was about 38 weeks pregnant and my mother-in-law told me they were replacing windows on one of their rentals. Ahhh...old windows!!! I asked her if I could kindly take the old ones off her hands. She was more than happy to let me have them. The only thing was they were about 30 minutes away and I was very pregnant. My almost 80 year old grandmother was in town helping me so I bribed her to come with me to pick them up. I knew I wouldn't be able to do anything with them for a while, but YEAH!!! 14 windows!!!  I think my grandma thought I was crazy and might have had a heart attack if I went into labor on the drive, but we made it. Anyway, all of that excitement to share what has become of the windows. Here are some of them. I was able to finish these with the help of my dear friend Adrienne and we have put them on Etsy.  You can check them out here, but I thought I would show you the windows on my blog as well! Also, the pictures were taken by our friend Danielle Albini and you can check out her cute blog here.


We combined the use of fabric and vinyl on most of the windows. I personally LOVE the fabric on the windows!


We also love the fact that you can use dry erase pens on the windows! So much fun!

Thanks for letting my share my corner of the world!!

Tuesday, September 6, 2011

A quick cute pillow

 I love holidays. My husband doesn't have to work and it makes Sundays heavenly. This past weekend my husband took the girls to a friend's cabin overnight and I stayed home with Mr. J. I was just a little excited since I knew I could knock out some projects. Those are yet to come, but I thought I would post some pillows that I finished up for my brother's wedding. They were super quick and easy yet turned out super cute.

I was given these pillow cases and asked paint a Eiffel tower on them. I seriously love my Silhouette machine. I. love. it. I am able to go online anytime of the day and buy whatever image I like for $.99, and then it is mine to use whenever. Well, that is what I did with this. I bought the Eiffel tower image online and then cut an image out of vinyl. I then placed it on the pillow like this.


I then  used acrylic paint and a foam brush to fill in the image. I did make sure to press down the sides so the paint did not bleed through. You also could do this with freezer paper.


I then painted the image in (as you can see it looks like one big blob...)


I let it dry for a bit then pulled off the vinyl and viola. a cute throw pillow. I liked how these turned out and they did look super cute at the wedding reception.


I am currently working on something super fun and hope I can post it by the end of the week, so keep your eyes out!